
Choosing a character to play as in Super Smash Bros. Ultimate is a daunting task. With over 80 characters at your disposal, finding the right fighter could take hours of playtime.
To help you in your search, we’ve compiled a comprehensive tier list, including a breakdown and analysis of the game’s strongest 15 fighters. If you are looking to take your Smash game to the next level and show up your friends at your next get-together, look no further!
To start, we’ve categorized the game’s roster into five distinct tiers of strength, from strongest (S Tier) to weakest (D Tier):
S Tier: The best of the best. These characters can kill other characters consistently, boast strong recovery options, and are dangerous on offense and defense. Many of them are dominant in the air, allowing them to juggle opponents and pursue them off-stage to secure a speedy kill.
1. Joker
2. Pikachu
3. Pyra and Mythra
4. Fox
5. Roy
6. R.O.B.
7. Pac-Man
A Tier: These characters have powerful and versatile movesets, but slightly more obvious weaknesses. They will have to work just a little harder to secure a kill, particularly off-stage. With that said, most of these characters are still strong enough to go toe-to-toe with their S Tier peers.
8. Wario
9. Steve
10. Peach
11. Sonic
12. Pokemon Trainer
13. Lucina
14. Palutena
15. Kazuya
B Tier: These characters are well-rounded, often with a couple of powerful tools that make them a threat. They are not the fastest or strongest, which puts them at a disadvantage when under attack by characters higher on this tier list. However, these characters can still hold their own, and are worth investing time into.
16. Mario
17. Wolf
18. Cloud
19. Snake
20. Zero Suit Samus
21. Diddy Kong
22. Shulk
23. Mr. Game & Watch
24. Min-Min
25. Terry
26. Olimar
27. Captain Falcon
28. Samus
29. Sephiroth
30. Hero
31. Mega Man
32. Ness
33. Sora
34. Young Link
35. Sheik
36. Rosalina and Luma
37. Mii Brawler
38. Falco
39. Corrin
40. Byleth
41. Ken
42. Ryu
43. Greninja
44. Ike
45. Marth
46. Luigi
47. Inkling
48. Bowser
49. Chrom
50. Wii Fit Trainer
51. Yoshi
C Tier: These characters often have particular strengths, but also obvious weaknesses. Many of these characters lack the ability to kill consistently, giving the opponent an opportunity for a comeback. Many of these characters also have trouble fighting back under pressure, and can be swarmed by faster characters with stronger attacks.
52. Link
53. Pit
54. Dark Pit
55. Mewtwo
56. Robin
57. Duck Hunt Dog
58. Ridley
59. Lucario
60. Incineroar
61. Lucas
62. Toon Link
63. Donkey Kong
64. Meta Knight
65. Simon/Richter
66. Mii Gunner
67. Ice Climbers
68. Jigglypuff
69. Bayonetta
70. Villager
71. Banjo and Kazooie
72. King Dedede
73. King K. Rool
74. Bowser Jr.
D Tier: These characters are not without their strengths, but their most powerful moves are often slow and easy to exploit. They are often overwhelmed by quicker opponents and killed at lower percentages due to their lightness, poor mobility, or bad recovery.
75. Zelda
76. Pichu
77. Kirby
78. Isabelle
79. Little Mac
80. Piranha Plant
81. Mii Swordsman
82. Dr. Mario
83. Ganondorf
S Tier
#1: Joker
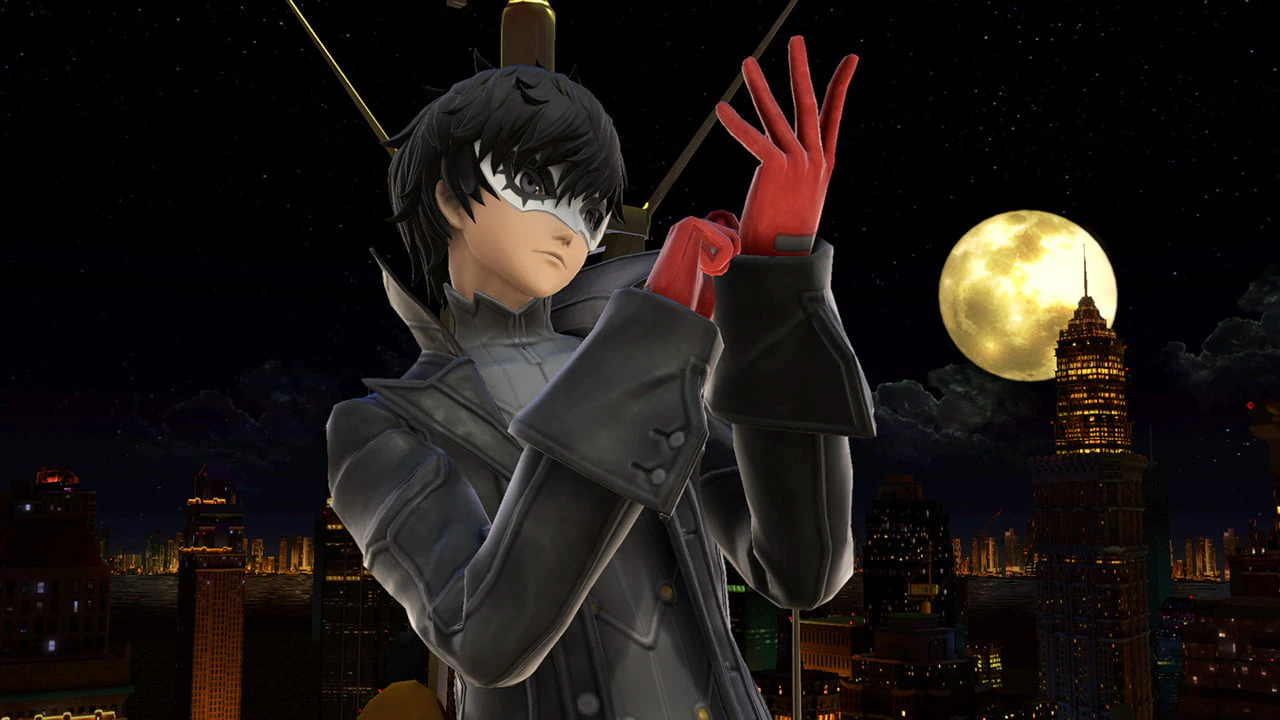
Joker has held the crown as the game’s strongest character since his release back in April 2019. His incredibly slippery movement and aerial attacks allow him to continuously pressure the opponent without ever putting himself at risk.
- Quick Offense, Slippery Defense: Because he can move so quickly, Joker is difficult to react to. He can follow up on a stray hit, convert it into a rapid aerial sequence, damage for dozens of percentage points, and leave the opponent at an offstage disadvantage. His speed also makes him difficult to hit. Whiff against a skilled Joker and he will swiftly punish your mistake.
- Extremely Strong Recovery: Joker’s Up-B is not only quick, but it can reach the edge of the stage from absurd distances, even horizontally. Joker’s recovery allows him to pursue opponents deep off-stage, as well as making him difficult to kill while he attempts to recover.
- Arsene Mode: If all of that weren’t enough, Joker’s Arsene mode allows him to maintain his blistering speed while hitting with the force of a truck. If you don’t kill Joker early, then he is bound to enter Arsene form nearly every stock, giving him a window to take you out.
#2: Pikachu
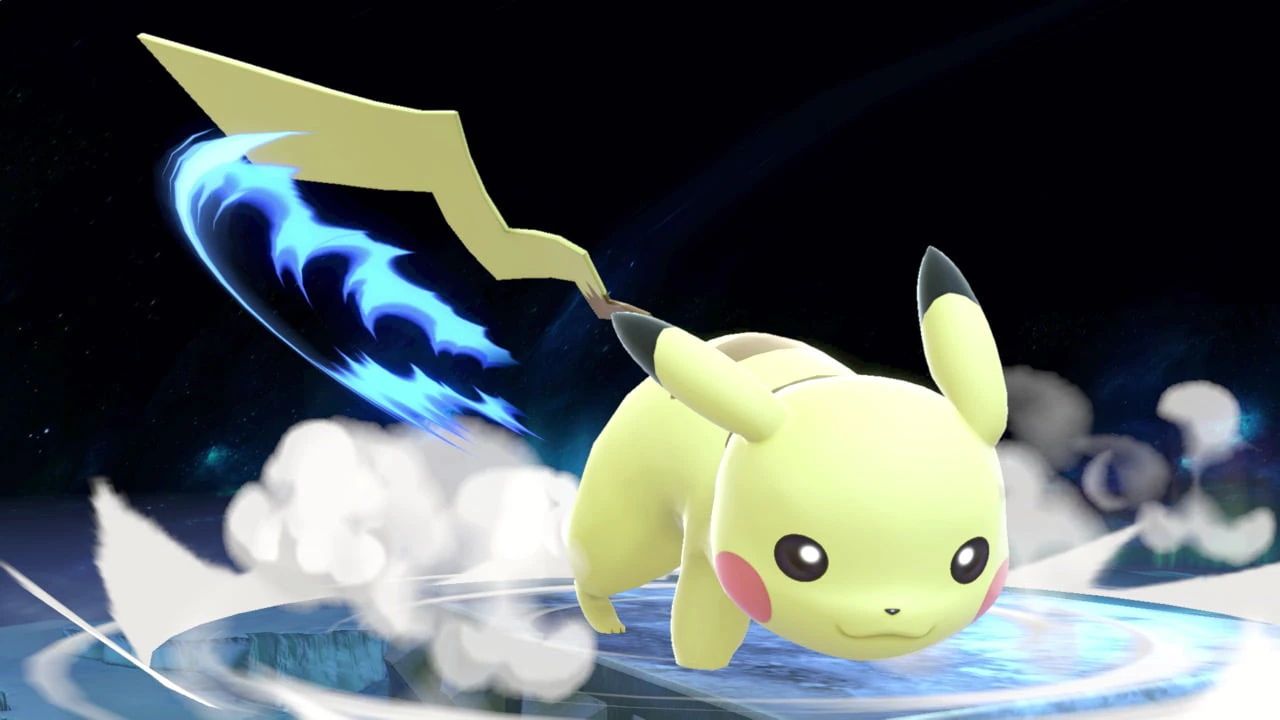
Pikachu can relentlessly batter opponents offstage with his swift aerial moves, then recover from many angles using his versatile Up-B. He possesses a series of multi-hitting electric attacks which can clip opponents as they try to dodge, making him very difficult to stop on defense. Skilled Pikachu players will not let their opponents touch the ground.
- Swift Aerial Attacks: Pikachu can juggle opponents with ease due to his fast aerial attacks, which often beat out counter attacks. His back air and side air attacks in particular are long-lasting and can still hit opponents who attempt to air dodge through Pikachu’s barrage. Panicked opponents who attempt to double jump while under attack may get clipped and lose their second jump, leading to an early death.
- Neutral B: Although they may not look very threatening, Pikachu’s neutral-B projectiles cannot be ducked, forcing the opponent to either shield or jump. This puts Pikachu in a prime place to launch an offensive in the air, where he is strongest. Furthermore, the bolt can run over the edge of the stage, trapping opponents who try to recover vertically.
- Versatile Recovery: Because Pikachu’s Up-B consists of two dashes, he can return to the stage at a variety of angles, making him difficult to edgeguard. Combined with the horizontal space covered by his Side-B, Pikachu can make it back to the stage from lengthy horizontal and vertical distances.
#3: Pyra and Mythra
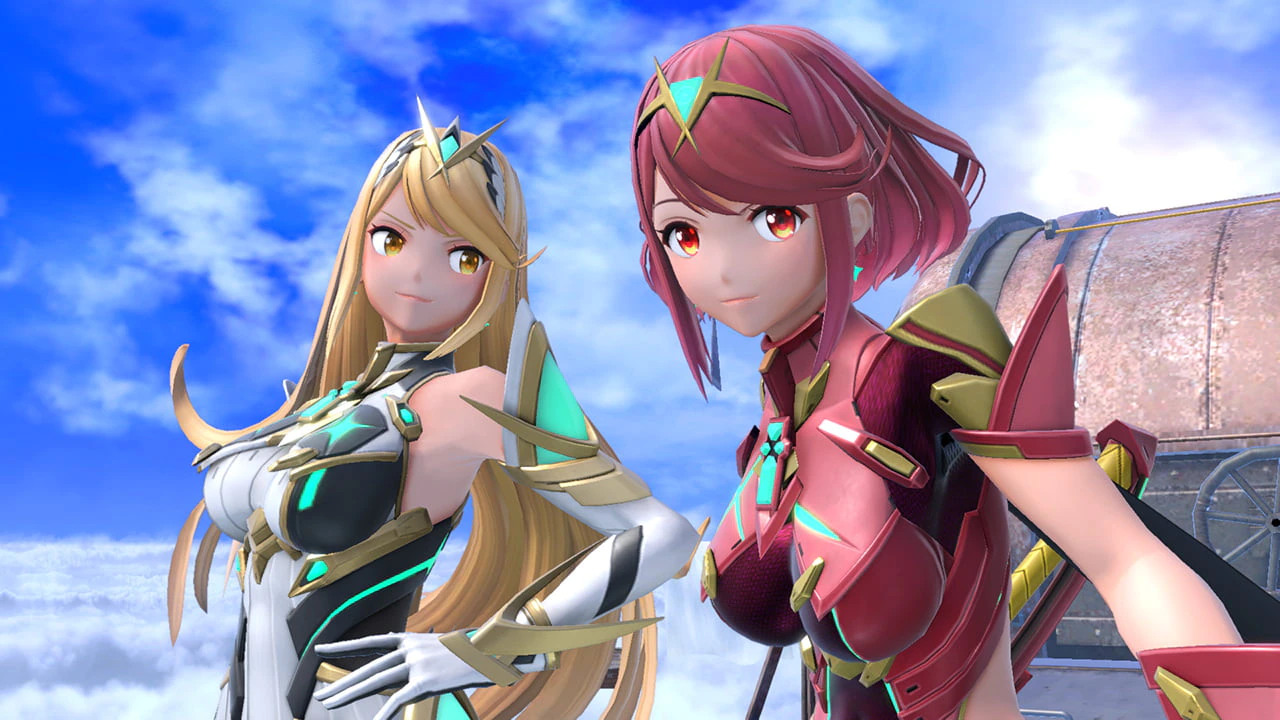
Mythra is a powerful juggler who can quickly rack up damage. Pyra is a heavy hitter who can smash opponents off the screen with a single blow. With the ability to rapidly transform between both forms, Pyra and Mythra are the complete package, boasting speed and power. Batter your opponent’s percentage with Mythra, then switch to Pyra and swing for the fences.
- Mythra’s Speed: Mythra’s ability to juggle opponents at low percentages is no joke, and she can rapidly rack up 30-40% damage with a sequence of aerial attacks. She is not without kill options either, including her side smash, up smash, neutral B, and side B, many of which can be comboed into.
- Pyra’s Power: Pyra cannot move as quickly as Mythra, but her aerial moves are still pretty fast, and they can kill at absurdly low percentages. Getting caught by a stray attack could spell an early demise. Even if you attempt to swarm Pyra, she can still switch back to Mythra as a last resort.
- Foresight: Mythra possesses a skill called Foresight, which allows her to slow down time if she dodges an opponent’s attack at the last second. This defensive option makes it more difficult to approach Mythra, as getting dodged could lead to a nasty counterattack.
#4: Fox
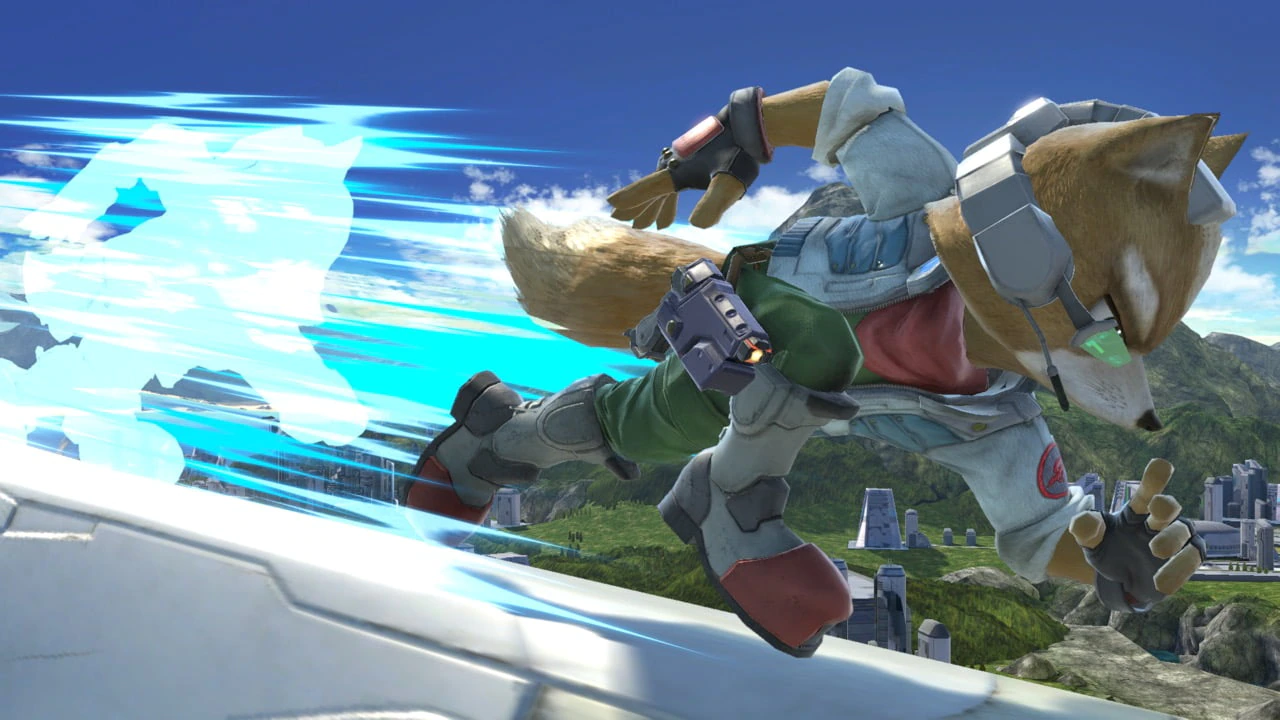
Fox is a high tier character in nearly every Smash game due to his speed and powerful aerial attacks. What separates Fox from the other characters in S Tier is his ground game. Fox’s dash attack can easily punish whiffed attacks and sloppy dodge rolls, popping the opponent up in the air for a killer up air or back air attack. When the opponent starts to block, Fox’s grab can also set up an opponent for a lethal aerial blow.
- Fast Falling: Fox falls more quickly than most of the other characters, which is both a blessing and a curse. It makes him harder to control, but also makes him very hard to react to as he descends from the air. Bully your opponent with fast-falliing aerial moves, such as his neutral air attack. When their defense cracks, plant a pinpoint back air attack or up smash attack to secure a stock.
- Blaster: Fox’s neutral B can pepper the opponent with damage, forcing them to approach you. Use your blaster whenever there is distance between you and the opponent -- the damage will rack up and your opponent will begin to lose their nerve.
- Snappy Aerial Attacks: Fox’s attacks are simple yet strong. His neutral air attack stays out for a long time and can catch foes both on the ground and in the air, while his up air and back air attacks are scarily powerful moves that can send a juggled opponent hurtling into the blast zone.
#5: Roy
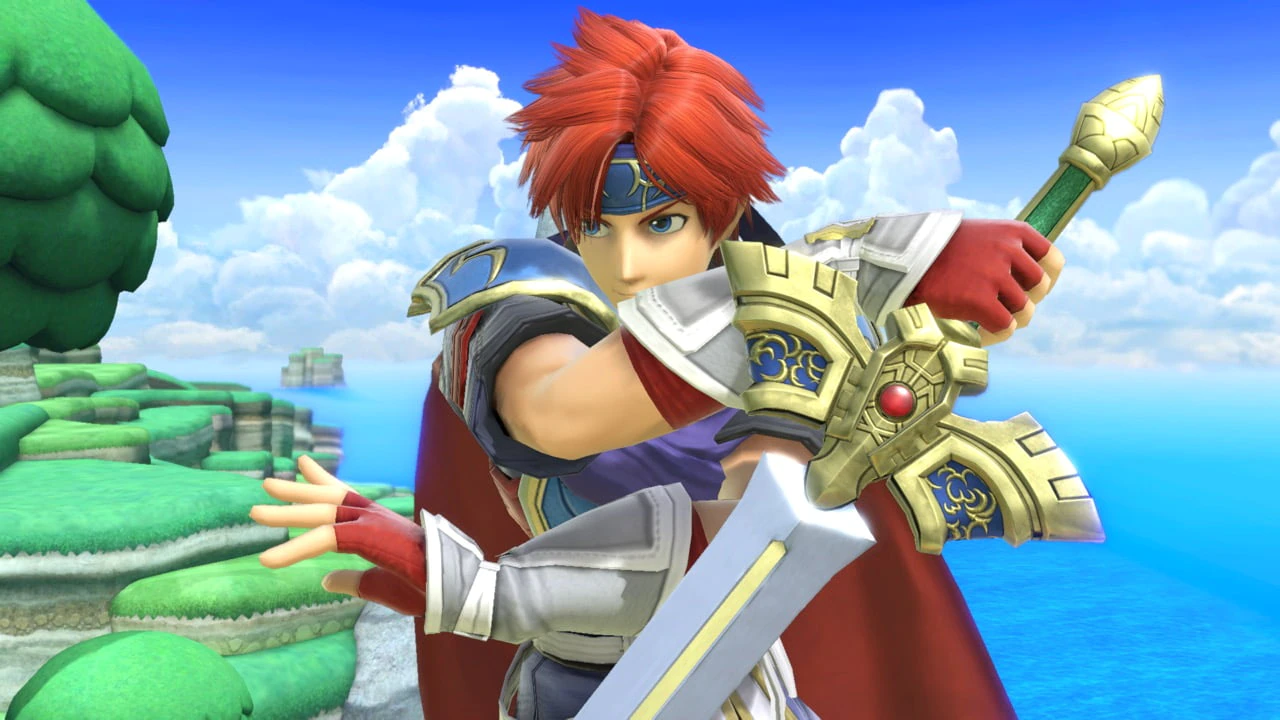
No longer a clone of Marth, Roy is an explosive swordsman who does more damage with the center of his sword. He can set up kills very easily and his combos do huge damage. With his tremendous ground speed and low jump arc, it is difficult to keep Roy at bay. There is little scarier in Super Smash Bros. Ultimate than a Roy jabbing at your shield -- one false move could spell your end.
- The Jab: Roy’s jab is fast enough for him to use it multiple times in a row without being punished. It is a powerful tool to pressure the opponent. Getting hit by jab can combo into a back air attack, leading to an early death.
- Explosive Aerials: Roy’s aerial attacks hit very hard, and aerial sequences of three or four attacks can easily do 30-40% damage and force the opponent offstage. This gives him a considerable comeback factor -- even if you’re behind on stocks, you’re only a few right decisions away from settling the score.
- Deceptively Strong Up-B: At first glance, Roy’s up-B may look a bit stubby for a recovery move, but holding left or right on the control stick can trade some of its vertical distance for horizontal distance, allowing Roy to recover far away from the stage. It is also a scary, if risky counterattack move.
#6: R.O.B.
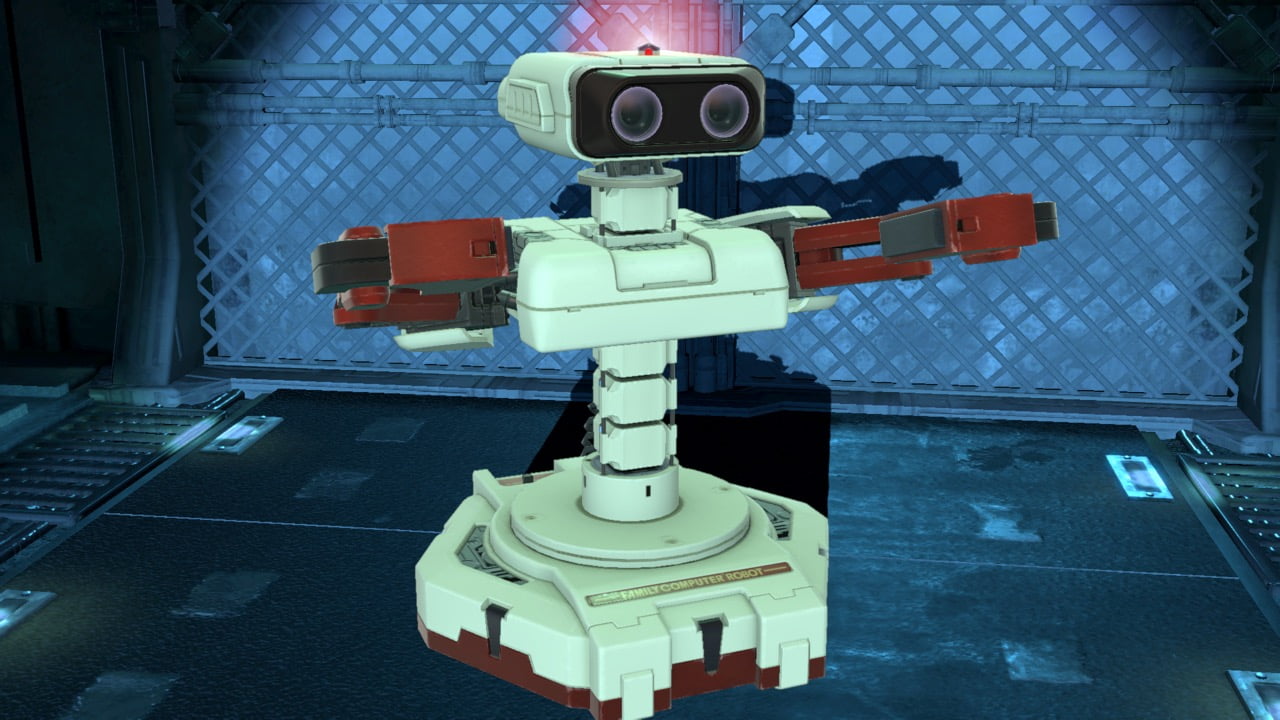
R.O.B. is a jack of all trades -- and, depending on who you ask, a master of all trades too. His laser and gyro projectiles are an ever-present threat at long range. He’s no slouch up close either, with his pesky forward air and up air attacks, a lethal back air attack, and a down tilt which can lead to combos or kills at the right percentages. His recovery is also one of the best in the game.
- Laser and Gyro: A fully-charged laser is dangerous at high percentages, and a fully-charged gyro can continue to spin even after it’s launched, trapping opponents who attempt to approach. Use these tools to force an approach from the air, then meet them with R.O.B.’s high-priority aerial attacks.
- Down Grab: At high percentages, R.O.B.’s down grab can set up into a lethal up smash attack. Even at lower percentages, you can use it to set up aerial combos. Condition your opponents to block your barrage of laser and gyro, then get to grabbing.
- Extremely Generous Recovery: R.O.B.’s jet-fueled recovery lasts for a long time, and you can stagger your up-B to fake out your opponent as you return to the stage. Use a combination of up-B and the propulsion from back air attack to thwart your opponent’s edgeguarding attempts.
#7: Pac-Man
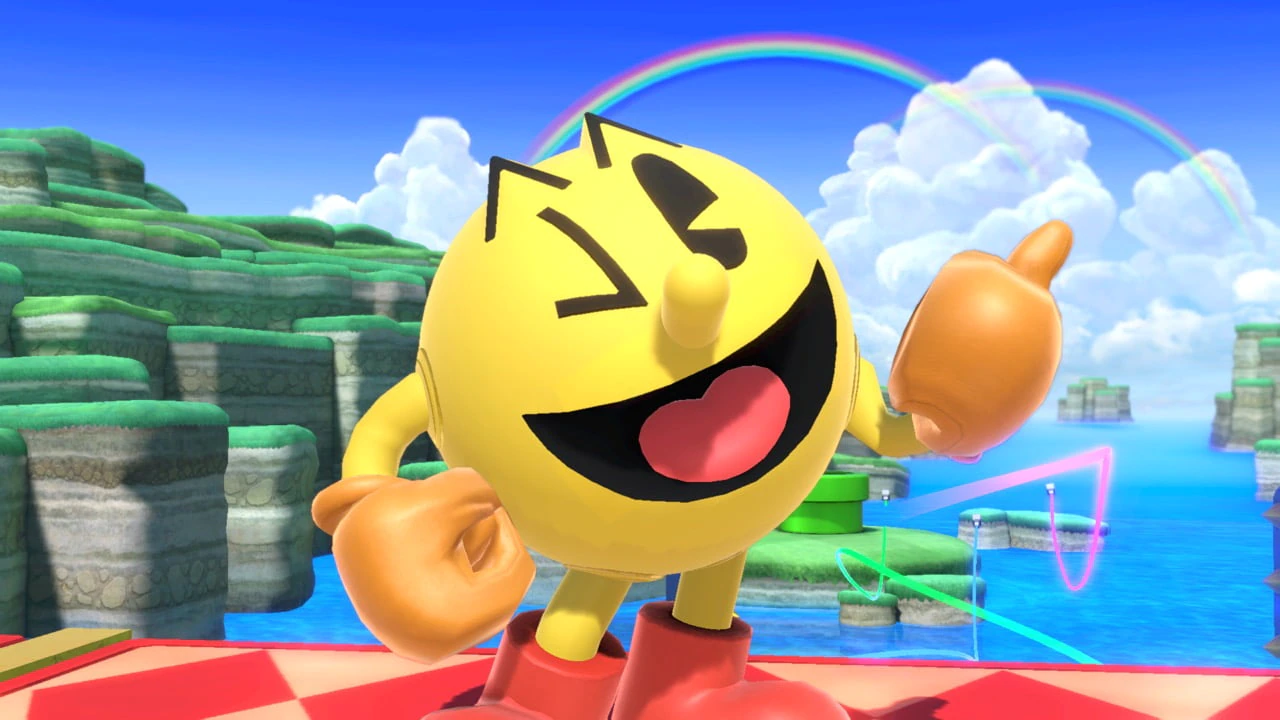
Pac-Man is a character who thrives off of set-ups and zone control. His neutral B allows him to charge up a variety of tools, some of which can lead to death on hit. His fire hydrant down B acts to threaten a zone of damage underneath him, and further places the threat of a flying fire hydrant on the field. Pac-Man constantly puts threats on the field and slips away with his floaty jumps, forcing the opponent to give chase -- and walking right into his traps.
- Neutral B: Pac-Man can use this move to charge up a variety of tools. Of note, the Galaxian moves in a loop that is great for edgeguarding; the bell moves upward then downward and stuns enemies, setting up for a punishing aerial attack; and the key can quickly kill at high enough percentages. The threat of letting you charge these tools will push many players to predictably leap at you, giving you the chance to counter them or slip away.
- Unconventional Recovery: With Pac-Man’s side-B, you can draw a line of pellets thatPac-Man will chew through. With Pac-Man’s up-B, you create a trampoline that you can bounce on three times to increasingly higher heights. Use these tools to vary your recovery or slip away from the opponent in time to set up your next neutral B or down-B.
- Fire Hydrant: Somewhat like Villager’s tree, Pac-Man’s fire hydrant acts as an ever-present threat so long as it remains on the field. If opponents try to approach, send it flying at them for massive damage; if they maintain their distance, use the time to charge up your neutral-B. This places the opponent in a constant game of chasing your tail.
A Tier
#8: Wario

With his floaty movement, Wario can stay in the air for a long time, where he can bully his opponents with his arsenal of long-lasting aerial moves. His horizontal air mobility makes him difficult to stop on offense, and difficult to punish as he descends to the stage on defense. Beware of his Wario Waft, a near-instant move thatcan steal stocks at egregiously low percentages.
- Air Bully: Somewhat like Roy, Wario covers a lot of horizontal distance when he jumps. Unlike Roy, however, Wario is floaty. This fits his playstyle, as his aerial moves last for a long time and can beat out a lot of other moves. Torment your opponent by jumping all over them with long-lasting aerial moves, and force them to shield so that you can begin your grab game.
- Edgeguarding: Due to his ability to jump long horizontal distances, Wario can pursue opponents into the edge of the blast zone, stay in the air long enough to keep them away from the stage, then make it back to the edge with his motorcycle side-B and up-B.
- Wario Waft: Wario’s down-B, when fully charged, can kill characters at low double-digit percentages. If the match lasts long enough, he could even acquire it multiple times in a match. This is a game-stealing ability that forces opponents to be extremely cautious, even when they’re juggling you. If your opponent is disrespecting you, let it rip.
#9: Steve
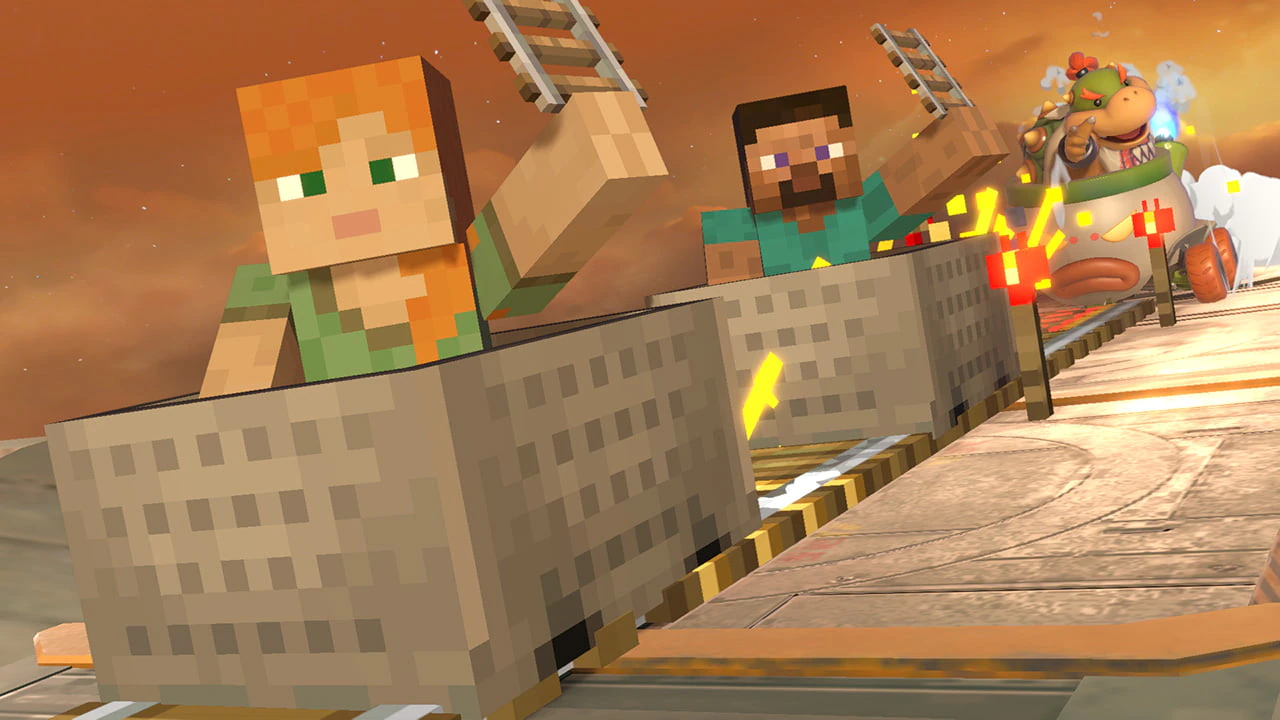
Steve is a highly unorthodox character with a deep box of tools. With his unique block-building mechanic, Steve can create a zone of control that is difficult for opponents to navigate on the fly, buying him time to build up resources in order to construct stronger weaponry. With his combos and strong burst attacks, Steve also has no trouble killing. He rewards creative, out-of-the-box play like no other.
- Block Creation: Steve can create new blocks out of thin air, making it difficult for opponents to approach him as he gathers materials and sets up the terrain on his terms. He can camp in his terrain, throwing out weird, disjointed attacks, forcing an opponent to approach from uncomfortable angles.
- Weapon Forging: If you leave Steve alone for too long to mine materials, he will construct the extremely dangerous diamond sword, giving him new kill setups.
- Strong Burst Options: Attacking Steve is not without its dangers, either. If you attempt to pursue Steve, he may bust out his anvil and mine cart attacks, both of which are astonishingly quick and do devastating damage.
#10: Peach

While Peach’s moveset may appear simple on the surface, she is difficult to play at a high level. Her true potential comes from her ability to hover in mid-air, allowing her to weave back and forth while throwing out powerful aerial attacks. She can also set up some nasty pressure with her turnips, which you can drop upon your opponents as you swing at them. If you enjoy technical characters and aerial gameplay, Peach may be the character for you.
- Hover: Peach’s unique hovering ability is activated by holding down while in the air. If you do this immediately after a low jump, you can hover just over the ground, weaving back and forth as you pressure your opponent with a barrage of neutral air attacks. Hovering is also useful while edgeguarding, as you can wait out your opponent’s recovery while throwing out attacks to stop them.
- Countering with Toad: Because of Peach’s lightness, opponents will be inclined to rush her down in order to take her out. Use the threat of your neutral B counter to get them off your back.
- Turnips: Peach’s turnips are highly versatile tools. They can be used to zone enemies at a distance, snipe them offstage, or poke at their shield. You can also drop them from above to force the enemy into playing defensively. Try to always have one in hand. With enough luck, you could pull a Bob-omb or the infamous stitch-face turnip, which possesses incredible destructive force.
#11: Sonic
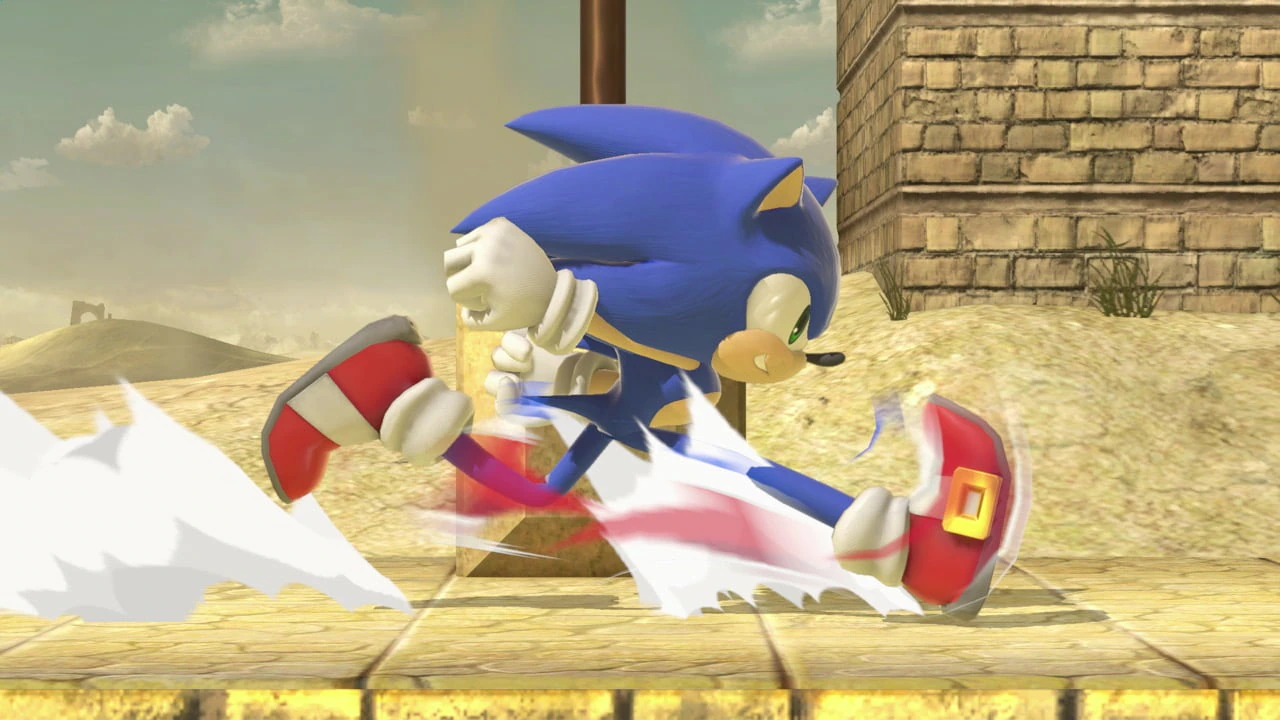
Sonic possesses the fastest run speed in the game, but his true strength lies in his spin dash (side-B) and spin charge (down-B), offensive versatile tools which are hard to stop. A good Sonic can feel impossible to hit, running you over with his spin dash and following up with an aerial combo if he hits, or leaping away if he is blocked. His floatiness and strong vertical recovery also make him a potent edgeguarder.
- Spin Dash: Sonic’s side-B is one of the linchpins of his gameplan, allowing him to offensively approach his opponent while still maintaining a variety of options. The spin dash can continue to be charged, reverse directions while moving, or cancelled into a jump or an attack. It is also usable as a horizontal recovery tool in the air.
- Spin Charge: Sonic’s down-B possesses multi-hitting properties that can be turned into a jumping attack, as well as cancelled into Sonic’s neutral B homing attack. Because spin dash and spin charge look quite similar in the heat of battle, and because they both charge and move at varying speeds, you can mix up your approach between the two to launch an offensive that is difficult to react to.
- The Fastest Dash Speed: Sonic can close the distance extremely quickly, punishing whiffed moves, grabbing turtling opponents, and following up on stray hits. Dash back and forth to scare your opponent into committing to an option, then use spin dash, spin charge, or merely run at them to start your gameplan.
#12: Pokemon Trainer
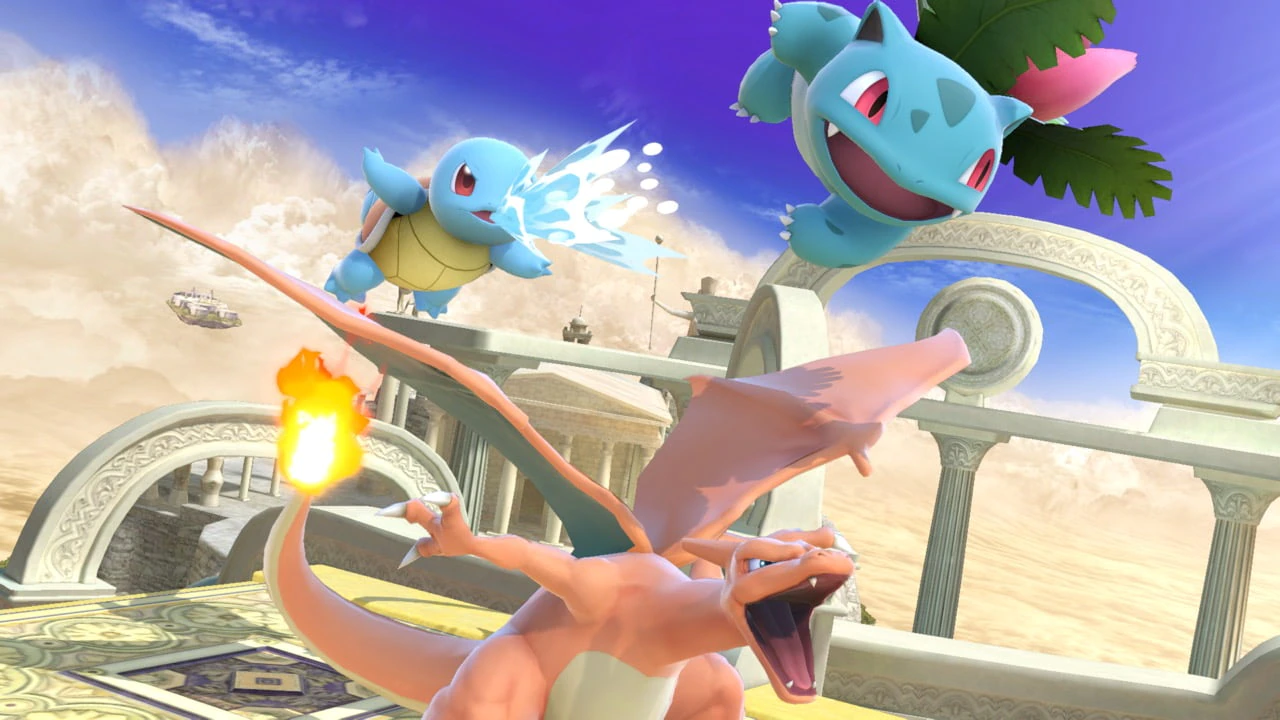
Squirtle possesses an exceptional combo game and Charizard boasts frightening power that can steal away early stocks. While Ivysaur is a bit of a weak link due to his inconsistent recovery, it thrives on platform-based stages where it can use its midrange attacks to take a crack at unsuspecting foes. Use Squirtle and Ivysaur to rack up damage, then move in for the kill with Charizard.
- Squirtle’s Air Game: Squirtle’s air attacks possess high speed and low knockback, meaning that it can keep juggling opponents for a long time as well as stuff attempts to return to the stage.
- Ivysaur’s Midrange: Ivysaur excels at keeping the opponent at bay with the range on its tilt attacks, grab, up-B, and neutral B projectile. Due to the range of these tools, Ivysaur is strongest when the opponent is approaching from the air, where Ivysaur can snipe them with one of its vine-based attacks.
- Charizard’s Kill Power: Charizard is predictably slow, but can easily kill with relatively low-risk options like its forward tilt, forward air, and back air attacks. Its attacks shred through shields. Charizard’s up-B and side-B, while both high-risk attacks that are easily punished if avoided, remain X-factor moves that can steal the game away.
#13: Lucina
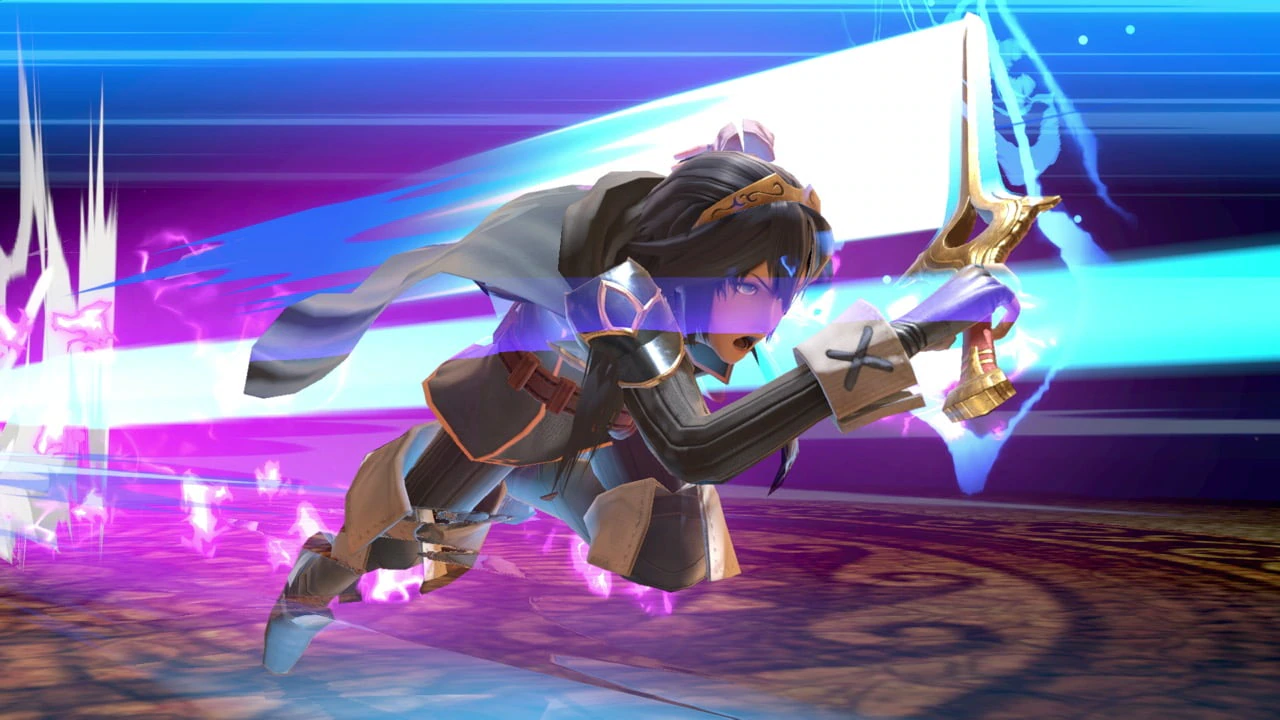
Lucina may not have many tricks, but she possesses a variety of powerful normal moves that hit at a slight range, with good speed to match. Unlike Marth, she deals equal damage and knockback regardless of which part of the sword hits her opponent, meaning that she can swing without fear of whether her blade will deal a strong or weak hit. For those who care less about tricks and techniques and more about solid, fundamental play with an emphasis on offense and spacing, Lucina is your woman.
- Strong Aerials: Like many sword-wielding characters in Smash, Lucina’s sword essentially allows her to attack from a slight range that is difficult to counter, particularly for melee-based characters. Her short hop aerial attacks create a wall of offense, allowing her to control the space in front of her without putting herself at risk.
- Strong Ground Game: Due to good run speed and her ability to poke at enemies with her sword using down tilt and side tilt, Lucina is also quite potent on the ground. Her forward smash attack is a quick, lethal burst option.
- Shield Breaker: Because Lucina’s offense is difficult to contest, opponents may shield your approach. Lucina’s neutral B is her ace in the hole. If the opponent fails to react with a dodge or a parry, this move can pop the opponent’s shield or catch rolls, leading to a quick stock. Condition your opponent into blocking with non-committal short hop air attacks and tilt attacks, then catch them off guard (or on guard, literally) with this move.
#14: Palutena
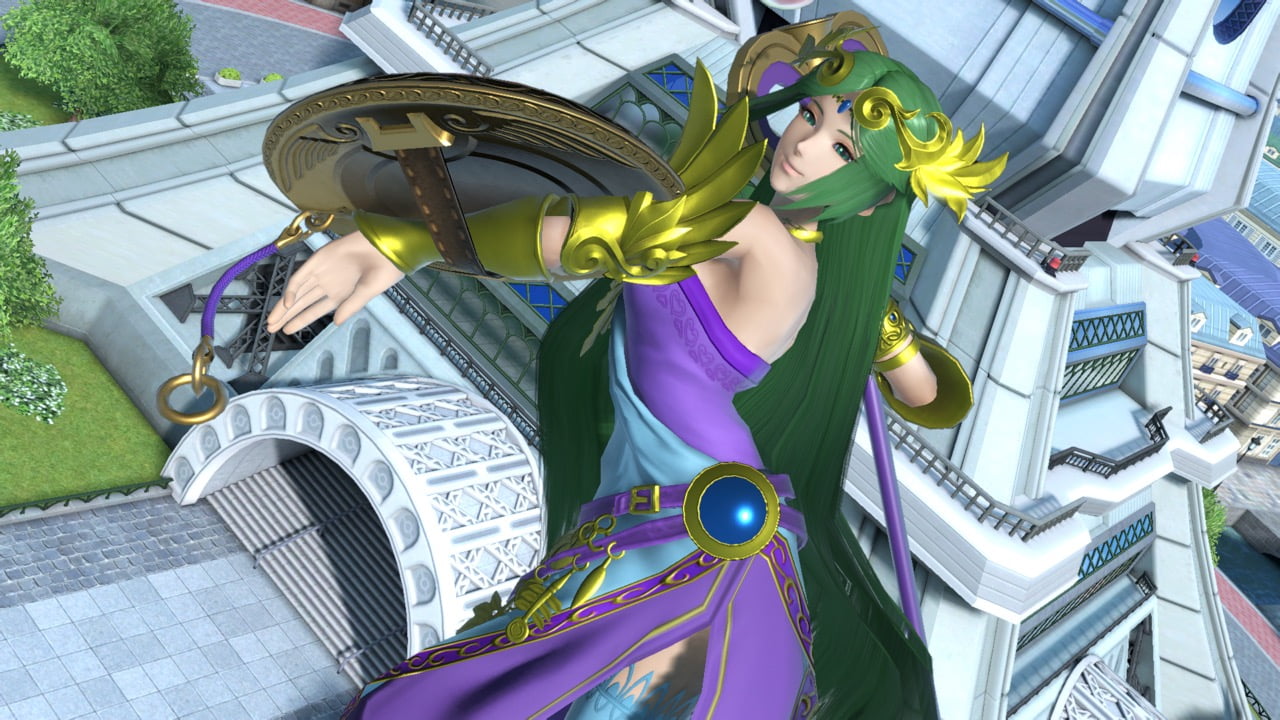
Palutena’s strength lies in her well-rounded moveset. She possesses a suite of powerful normal attacks, and an aerial combo game that is easy to pull off due to her speed and the generous hitboxes on her neutral air, up air, and side air attacks. She can rack up blistering damage with her throws and aerials before finishing the job with her back air attack, a quick move with high knockback. If you want to dance over your enemies in the air, pick Palutena.
- Air Goddess: Neutral air and up air are lengthy moves that can allow Palutena to intercept her opponent in the air and continue juggling with a follow-up neutral air attack. Back air has strong knockback, and because it uses her shield, it beats out other attacks. The constant threat of a kill by back air attack will often force your opponent to air dodge, placing them in range for yet another neutral air.
- The Shield: Many of Palutena’s ground moves are slow and laggy, but her dash attack is a quick burst option that swallows up other moves due to her shield. Use this tool to counter opponents who attempt to challenge you on the ground, but don’t overuse it, as like most dash attacks it is unsafe on block.
- Versatile Specials: Palutena’s side-B can secure kills off-stage or trap opponents who attempt to descend away from Palutena. Meanwhile, her up-B is a slippery teleport that can also be used on the side of a platform to slip away from the enemy.
#15: Kazuya
Kazuya sports an overwhelming ground-focused moveset that reflects the complexity of the Tekken fighting game series. While he may be slow on paper, his special dash can close the distance. He possesses numerous combos, invincibility on some moves, and special grabs, all of which can lead to utterly devastating damage. Those who embrace his steep learning curve and study his complex moveset can demolish an opponent with a series of correct reads.
- Crushing Blows: Not only do many of Kazuya’s moves either commit or lead to absurd damage, he can crack through shields with his down air attack and down smash. The best way to deal with Kazuya is to get in his face, but this is much easier said than done given how scary he is on offense.
- Crouch Dash: Part of Kazuya’s learning curve comes from learning how to crouch dash in succession -- performed by inputting forward, down, down-forward, akin to the famous Shoryuken motion. With crouch dash, Kazuya can close the distance exceedingly quickly, and is upper-body invincible to boot. He can follow up crouch dash with a series of moves, the most noteworthy of which is Electric Wind God Fist, which requires extremely strict input timing but is safe and block and can lead to stock-ending combos on hit.
- Rage: When Kazuya hits 100% damage, he enters rage mode, giving him a 1.1x damage multiplier and granting him access to an improved down-B special grab. This move ends rage, but can kill most characters at high double digit percentages. Like Joker’s Arsene form or Terry’s Go meter, Kazuya’s Rage gives an already-frightening character the ability to close out stocks in the blink of an eye.
You may also be interested in:
- Smash Bros Ultimate Guide for Beginners and Advanced Players
- Smash Ultimate Best Characters [Smash Ultimate Tier List]
- [Top 10] Smash Ultimate Best Spirits That Are OP
- [Top 10] Smash Ultimate Best Amiibo
- [Top 10] Smash Ultimate Best Air Game
- [Top 10] Smash Ultimate Best Aggressive Characters
- [Top 10] Smash Ultimate Best Beginner Fighters
- Top 10 Best Smash Ultimate Players
- Top 5 Smash Bros. Ultimate Tournaments in The World
- Smash Ultimate Tournaments List (All Major Tournaments To Watch)
- 10 Best Smash Ultimate Custom Stages
