
Perks can help give you different advantages in game or strengthen your play style by providing you with stealth or special aura reading. With so many killer perks in the Dead by Daylight, choosing the right combination takes a lot of trial and error. If you want to go from an average killer to a brutal killing machine, these 15 perks can give you the edge you need.
15. Bamboozle
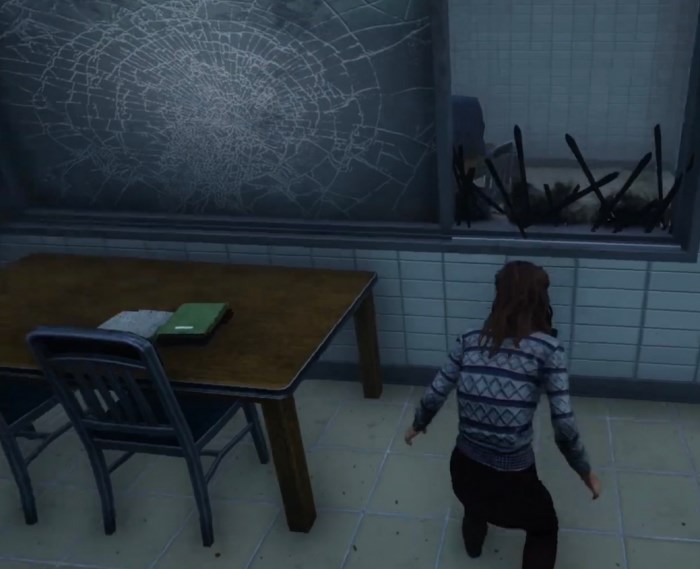
After vaulting a window, Bamboozle calls upon The Entity to block that window for the next 8/12/16 seconds. Blocked windows cannot be vaulted by survivors. This perk also increases your vaulting speed by 5/10/15%.
One of the most frustrating things to deal with as a new killer is being looped around structures with windows. Survivors can quickly rush through them and circle around while you struggle to catch up. Bamboozle not only adds to your vaulting speed, but it completely blocks the window from being vaulted through for a short amount of time.
Why Bamboozle is great:
- As the name suggests, it takes survivors by surprise in loops when the window they planned to go through is blocked, allowing you to get an easy hit.
- Vaulting at a faster speed allows you to gain distance on fleeing survivors.
- Once survivors know you have Bamboozle, they may avoid looping you altogether, which gives you a great advantage in chases.
Bamboozle is best used on The Mastermind and The Pig.
The Pig suffers during chase and can be looped fairly easily. Blocking a window can greatly help her by shutting down a loop and forcing the survivor to choose another path.
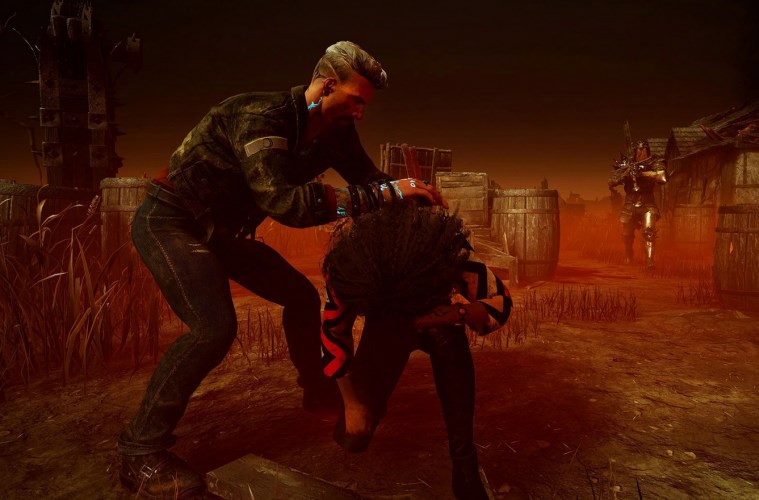
The Mastermind has the ability to vault windows with his power, Virulent Bound. With the added 15% vaulting speed, Wesker will take survivors by surprise and catch up to them quickly.
14. Discordance
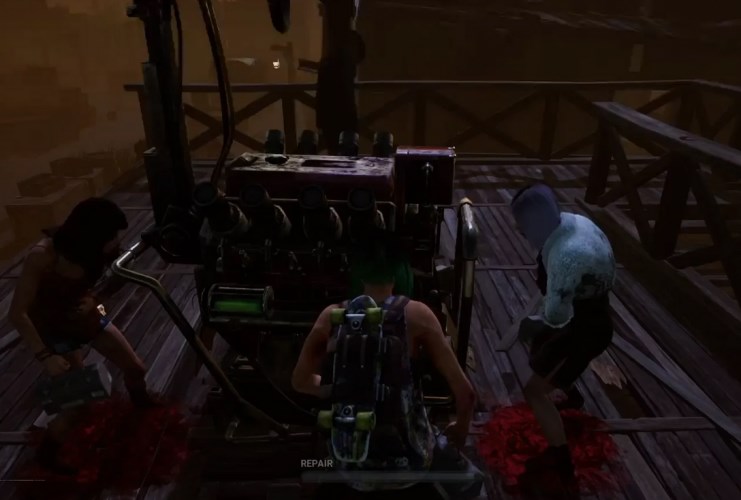
Any generator that is being repaired by two or more survivors is marked by a yellow aura. When the generator is first highlighted, Discordance triggers a noise notification on the generator.
Teamwork is the bane of every killer’s existence. With faster repair speeds, multiple survivors on one generator can make the game go quickly. Discordance is the perfect perk that punishes survivors that work together.
Why Discordance is great:
- Notifies you when survivors are working together on a generator.
- Allows you to kill two birds with one stone by breaking them up and damaging their generator.
- Once survivors realize you have Discordance, they tend to work alone to avoid revealing their locations.
Discordance is best used on The Nightmare and The Trickster.
The Nightmare, Freddy, has the unique ability to teleport to generators on the map at will. When Discordance activates, he can quickly break up survivors working together and get into chase with one of them.
The Trickster does well with attacking multiple survivors at one with his dozens of knives. Discordance will allow him to find more than one survivor in an area and shower them with blades.
13. A Nurse’s Calling
The aura of survivors who are healing or being healed are revealed to you when they are within a range of 20/24/28 meters.
A Nurse’s Calling is an underrated perk that reveals the aura of the most vulnerable survivors on the map. It may not be considered good sportsmanship to go after a survivor that is already injured, but it sure is fun.
Why A Nurse’s Calling is great:
- Allows you to see if teammates are healing one another and put a stop to it.
- If the injured survivor is using a med-kit, downing them immediately will have wasted their resource.
- When combined with other anti-healing perks, it can make healing virtually impossible.
A Nurse’s Calling is best used on The Legion and The Oni.
The Legion has a hit-and-run playstyle that leaves survivors mending injuries before they are able to heal. Despite the fact that survivors aren’t healing, A Nurse’s Calling still shows you the aura of survivors in the mending state. This is valuable because you will be constantly seeing auras if you use your Feral Frenzy power enough.Upon collecting enough blood orbs, The Oni has the ability to do a Demon Dash that sends him sprinting across the map with a deadly spiked baton. While sprinting, A Nurse’s Calling can show him any survivors that are attempting to heal around the map. Even if they manage to complete healing, while in his Blood Fury, the Oni can down them in one hit with his massive baton.
12. Barbeque and Chilli
After hooking a survivor, other survivors who are at least 60/50/40 meters away from the hook have their aura revealed to you for 4 seconds.
Information is valuable in Dead by Daylight and unlocking the ability to see survivors without their knowledge greatly benefits you in game.
Why Barbeque and Chilli is great:
- It shows you what other survivors are doing across the map from working on generators to unlocking chests.
- Allows you to keep pressure on survivors by going from chase to chase.
- When you cannot see the aura of any survivors, you’ll know they are in the area.
Barbeque and Chilli is best used on The Nurse and The Spirit.
With the ability to blink through walls and traverse the map quickly, the Nurse becomes deadly with Barbeque and Chilli. She can reach survivors that she sees on the other side of the map and catch them off guard.
Like the Nurse, the Spirit can also quickly travel the map. However, Barbeque and Chilli works well when she knows that survivors are nearby. If no auras are shown after hooking a survivor, she can go into a fake phase and circle the area, pretending to leave. When she phases back to the hook, she can get an easy hit on survivors that come to help save their teammate.
11. Tinkerer
Whenever a generator is repaired to 70%, you benefit from the following effects: you receive a noise notification for that generator, revealing its location. You’re also granted the Undetectable status effect for the next 12/14/16 seconds.
Tinkerer gives you the advantage of sneaking up on survivors that are about to finish a generator and stop them from completing their goal. At tier 3, Tinkerer allows you 16 seconds of Undetectable.
Why Tinkerer is great:
- It gives you a warning about which generators are going to be finished soon, giving you the opportunity to stop it.
- It takes away your terror radius which allows you to potentially sneak up on survivors.
- When combined with regression perks, you can damage the generator and force it to lose progress.
Tinkerer’s is best used on The Dredge and The Onryo.
Just like in The Ring, The Onryo has the ability to crawl out of televisions and inflict pain. With several TVs scattered around the map, she can travel toward generators that are about to complete and apply pressure in those areas.
With every generator in close proximity to a locker, The Dredge has the advantage of quickly traveling exactly where the generator is located and popping out of a locker to jump scare the survivors repairing it. This will have every survivor on edge and give you the opportunity to watch them scatter to flee in your sudden presence.
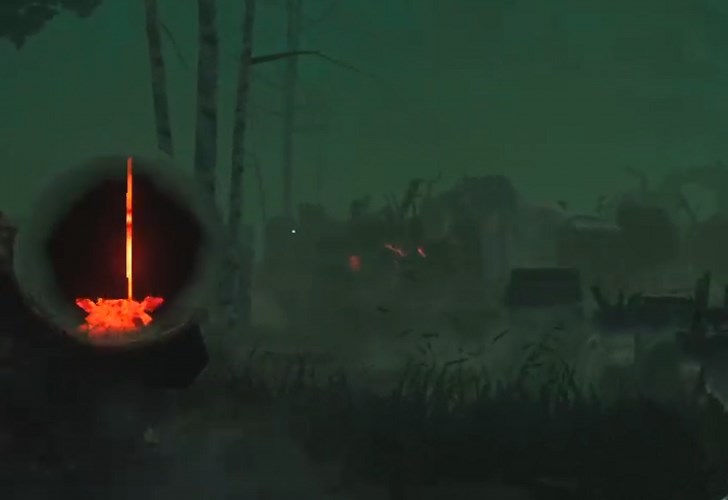
10. Corrupt Intervention
At the start of the game, the three generators located furthest from you are blocked by The Entity for 80/100/120 seconds or until you put a survivor into the dying state for the first time.
Cutting the available generators down from 7 to 4 will give you the advantage of finding survivors quickly and applying pressure on one side of the map. At tier 3, the time the generators are blocked permanently increases to 120 seconds.
Why Corrupt Intervention is great:
- Blocking the 3 furthest generators will force survivors to wander closer to the side of the map where you are located to find a generator to work on.
- With 120 seconds of time, you’re able to focus on applying pressure to the 4 open generators rather than the whole map.
- In the event that survivors only focus on the unblocked generators, they will leave 3 generators close in proximity for last, allowing you to heavily monitor them.
Corrupt Intervention is best used on The Shape and The Hag.
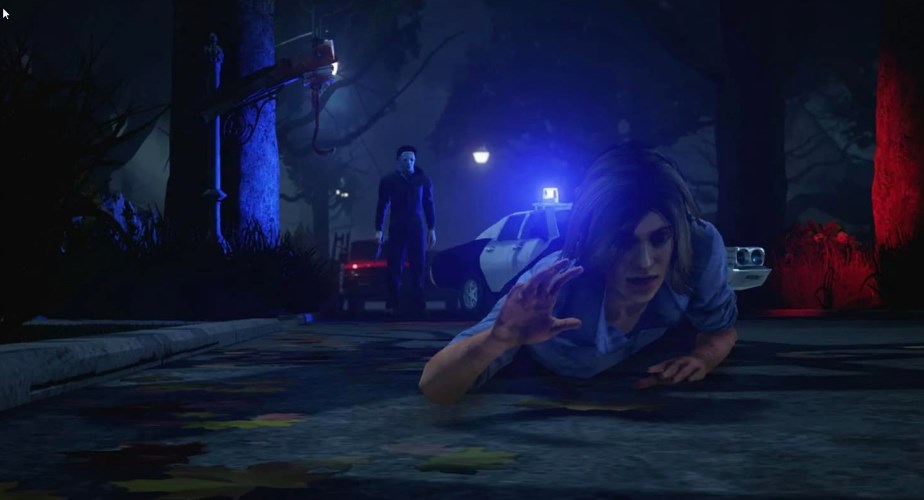
The Shape suffers from slow speed in the beginning of the game until he can stalk the survivors enough to reach tier 2 of his power. Having 3 generators blocked will allow him to linger around the 4 available generators and stalk survivors as they work on them until he can reach tier 3 of his power and apply the Exposed status effect on survivors.
Similar to The Shape, The Hag has a slow start in the beginning. She must place traps around the map to teleport to, and this can be detrimental when survivors spawn next to generators and begin working on them. With Corrupt Intervention, she buys herself a little time while the survivors come toward the middle of the map to find a generator to repair.
9. Hex: Devour Hope
Each time a survivor is rescued from a hook when you are at least 24 meters away, Hex: Devour Hope receives 1 Token.
At 2 tokens: 10 seconds after hooking a Survivor, gain a 3/4/5% haste status effect for 10 seconds.
At 3 Tokens: survivors suffer permanently from the Exposed status effect.
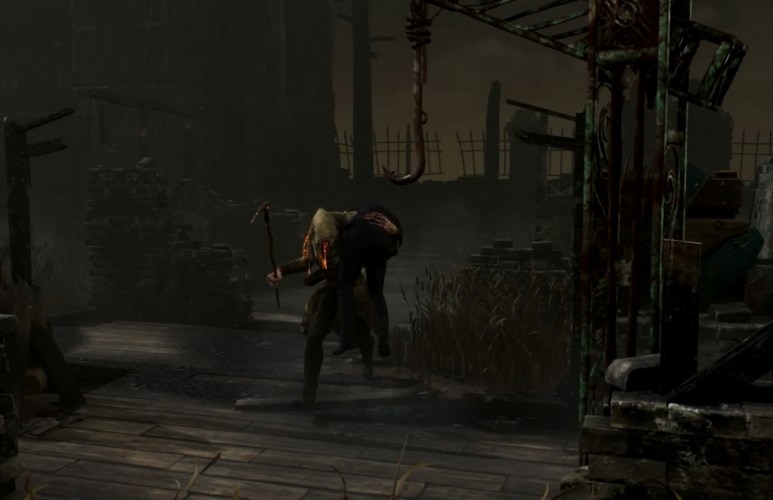
At 5 Tokens: you are granted the ability to kill all survivors by your own hand.
One of the funnest things to do as a killer is to kill survivors with your unique mori animation. Rather than bringing a special offering, Hex: Devour Hope allows you to slowly gain tokens to unlock the ability to down survivors in one hit and use your Memento Moris on them.
Why Hex: Devour Hope is great:
- Survivors will not know that Hex: Devour Hope is on the map until you reach 3 tokens and put a survivor into the dying state.
- Getting a small boost in speed at 2 tokens can help you in chase or as you traverse the map looking for generators to damage.
- When the survivors realize the hex is on the map, they will usually try to find it and stop working on generators, allowing you to focus more on chases.
Hex: Devour Hope is best used on The Plague and The Blight.
Corrupt Purge is the special ability belonging to Plague that allows her to spew red bile that injures survivors quickly. The reason this works so well with Hex: Devour Hope is because upon earning 3 tokens, the Plague can use her red bile to hide the fact that everyone is Exposed, allowing her to wait until the perfect moment to reveal it.
With fast travel speeds, Hex: Devour Hope synergizes well with The Blight. After hooking a survivor, he can use his Blighted Rush to quickly leave the area and ensure he receives a token when the survivor is rescued. His high speed can also allow him to occasionally check on the hex totem to make sure nobody is cleansing it.
8. Nowhere to Hide
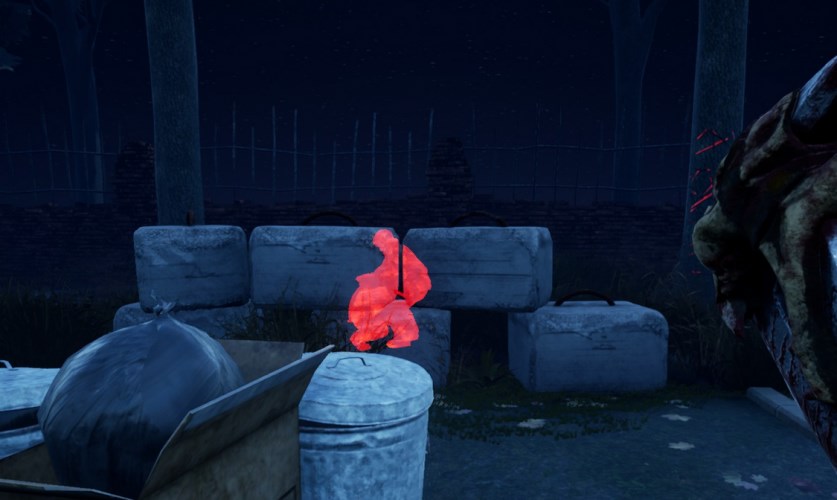
Performing the damage generator action on a generator triggers Nowhere to Hide. The auras of all survivors within 24 meters of your position are revealed to you for 3/4/5 seconds.
This perk is effective at giving you the chance to track down any hiding survivors that are waiting patiently for you to leave so they can continue working on generators.
Why Nowhere to Hide is great:
- This perk is universally good on every single killer due to its simplicity.
- Survivors will not know you have this perk and will be caught off guard when you find them.
- With a 24 meter range, this can show you multiple auras of survivors that are nearby and not just hiding around the generator.
Nowhere to Hide is best used on The Executioner and The Cannibal.
Pyramid Head has the special ability to injure survivors through obstacles like bushes or walls with his Punishment of the Damned. After damaging a generator, he can survey the area and use his Punishment to attack any survivors that are hiding from him.
With the ability to use his chainsaw to down survivors in a single attack, The Cannibal greatly benefits from aura reading perks like Nowhere to Hide. Upon seeing the aura of a survivor near him, he can rev up his chainsaw and get an easy down, taking them by surprise.
7. Sloppy Butcher
Wounds inflicted by basic attacks cause survivors to suffer from the Hemorrhage status effect and Mangled status effect. This increases the bleeding frequency by 50/75/100% and increases the regression rate at which partial healing progression is lost by 15/20/25%.
Both status effects are removed once the survivor is fully healed.
With the ability to cause healing survivors to lose all progress, Sloppy Butcher is an underrated perk that often gets overlooked.
Why Sloppy Butcher is great:
- Increases bleeding from survivors, which makes them easier to track.
- Regresses healing if interrupted by 25% at tier 3.
- Forces survivors to heal one another, taking time away from them working on generators.
Sloppy Butcher is best used on The Wraith and The Doctor.
With the ability to travel the map invisible, the Wraith can utilize a hit-and-run playstyle that keeps survivors injured for most of the game. He can track down healing survivors with the extra pools of blood and uncloak, forcing them to stop and lose all of their progress and run.
The Doctor has the ability to do a Static Blast that covers a large area around him, shocking any survivor in it. With Sloppy Butcher, any healing survivors that are shocked will not only reveal their location, but lose whatever progress they made while healing. This will give him the advantage of getting into chases faster and keeping people injured.
6. Save the Best for Last
Each time you hit a survivor other than your Obsession with a basic attack, Save the Best for Last gains 1 Token, up to a maximum of 8 Tokens. For each token, gain a stack-able 5% cool down reduction on successful attacks per token, up to a maximum of 40%. Each time you hit your Obsession with a basic attack, Save the Best for Last loses 4/3/2 tokens.
After basic attacks each killer has a short, unique animation that keeps them from instantly attacking again. This is a mechanic that allows the injured survivor a couple of seconds to make distance and avoid unfair situations where they have no chance of countering a hit. With the maximum amount of tokens, Save the Best for Last makes the animation 40% faster.
Why Save the Best for Last is great:
- With a 40% faster attack cool down, survivors won’t make much distance when running from you.
- If two or more survivors are together, you can attack one and go after another with little wait time.
- If your Obsession is sacrificed, you’ll still keep however many tokens you had when they were hooked. This will allow you to still have at most 30% of a reduction for the rest of the game.
Save the Best for Last is best used on The Demogorgon and The Deathslinger.
The Demogorgon has multiple powers from teleporting around the map with portals to using a shred ability to make great amounts of distance. He is skilled in chases, but his cool down for attacks feels very clunky and poorly designed with a loud screech that brings his movement speed to a staggering 0.575 m/s.
With Save the Best for Last, he will only be stuck at that movement for 1.08 seconds rather than the standard 2.7 seconds. This allows for him to quickly recover and get back onto the injured survivor he was chasing.
Save the Best for Last allows The Deathslinger to potentially down a survivor within seconds. After using a basic attack to injure a survivor, use your gun to shoot and reel them in, attacking them once more. With a 40% reduction to your basic attack, they won’t be able to get far and your speargun will make up for that distance by pulling them back toward you.
The Deathslinger is also able to shoot the Obsession and not have it take away tokens, since shooting is not a basic attack…this will allow you to damage your Obsession as many times as you’d like without losing your stacks.
5. No Way Out
For each survivor you hook for the first time, No Way Out gains 1 Token. Once the exit gates have been powered, No Way Out activates. When a Survivor interacts with an exit gate switch, you receive a noise notification and The Entity blocks both exit gate switches for 6/9/12 seconds and an additional 12 seconds per Token in your possession, up to a combined total of 36/48/60 seconds.
Just when the survivors think they’re done, No Way Out crushes their hopes of escaping. At tier 3, the time for each token is permanently increased to 12 seconds.
Why No Way Out is great:
- It prolongs the game, forcing survivors to wait until the gate switches are unblocked. With a 60 second timer, this can be devastating to teams that are close to death.
- When a survivor interacts with a switch, you receive a notification and can apply pressure in the direction it came from.
- In the event that one survivor is left and you close the hatch, the endgame collapse will begin and the remaining survivor will only have 2 minutes to open a gate. With the 60 second timer and notification that tells you which switch they touched, the survivor will truly have no way out.
No Way Out is best used on The Huntress and The Trapper.
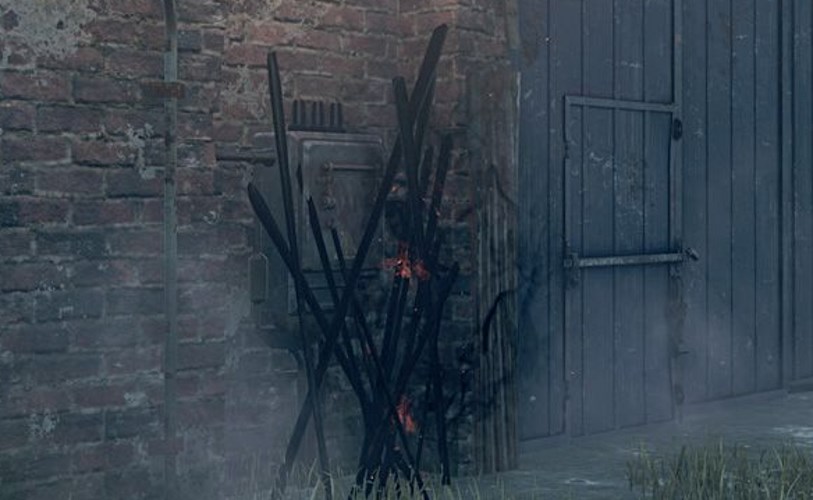
One of my favorite things to do as Trapper is use No Way Out to make escaping just as painful as being hooked. At the start of the game, place one trap under each exit gate switch. When the gates are powered, careless survivors will rush to the gate and step into the trap. Observant survivors will spend time disarming the trap only to trigger No Way Out, allowing you the time to reset the disarmed trap and begin hunting again.
The Huntress can be a powerful killer with practice. Her hatchets are deadly when precisely thrown and always take survivors by surprise when they come flying across a long distance. At the end of the match when No Way Out triggers, experienced players can throw a hatchet toward the exit gate switch and get a hit on the survivors waiting for the timer to end.
4. Lethal Pursuer
At the start of the game, the auras of all survivors are revealed to you for 7/8/9 seconds. Survivor auras that are revealed to you throughout the rest of the game will be extended for 2 seconds.
Lethal Pursuer is a simple yet effective perk that has the potential to immediately get you into chase with a survivor and greatly impact the team. At tier 3, the aura of survivors is extended to 9 seconds.
Why Lethal Pursuer is great:
- Gives you information on where survivors spawn and how close their proximity is to one another.
- Allows you to see any survivors that immediately begin working on a generator.
- Gives other aura reading perks an extra 2 seconds of life, allowing you to gather more information on what survivors are doing around the map.
Lethal Pursuer is best used on The Artist and The Hillbilly.
The Artist begins each match with three swarms of crows that she can use. With Lethal Pursuer, she is able to quickly place them in the direction of where the survivors spawn and let them fly.
The Hillbilly is one of the earliest killers in the game and unfortunately, it shows. With one of the lowest pick rates, seeing the Hillbilly has become a rarity. His ability to chainsaw sprint is hard to master, but with Lethal Pursuer he can at least begin the match by knowing where to sprint first…and if the survivors aren’t paying attention, the Hillbilly can get a cheeky down.
3. Deadlock
Whenever a Generator is completed, The Entity blocks the Generator with the most progression for 20/25/30 seconds. The aura of the blocked generator is revealed to you in white.
Deadlock is a passive slowdown perk that will activate without you needing to do anything, this benefits killers that can’t stop to damage generators. At tier 3, the generator is blocked for 30 seconds.
Why Deadlock is great:
- Deadlock activates four times during a trial for a total of 120 seconds with no progress being done on generators with the most progress.
- With the aura of the blocked generator shown to you in white, you’re able to damage it once it’s unblocked to make it regress.
- If you have no time to damage generators, being able to have 30 seconds of no progress is valuable toward the end of the game when most of the survivors are injured or on death hook.
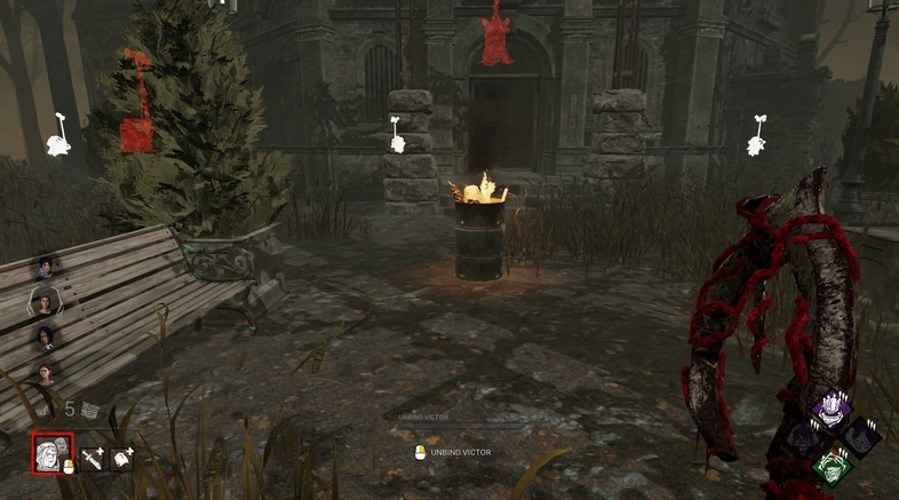
Deadlock is best used on The Ghost Face and The Twins.
Playing two killers can be complicated and The Twins need as much help as they can get when it comes to applying pressure. Victor is unable to damage generators while he is out but Deadlock can alert him on where to go next. With his speed, he can get to the blocked generator and attack anyone nearby or Charlotte can take over and use Victor’s killer instinct to see any survivor in his radius.
The Ghost Face can see the aura of the blocked generator and use his stealth to sneak over and potentially gain stalk on any survivors that are lingering around. If he is able to hook someone and then damage the generator, it will buy him time to find other survivors and continue the cycle of pain.
2. Call of Brine
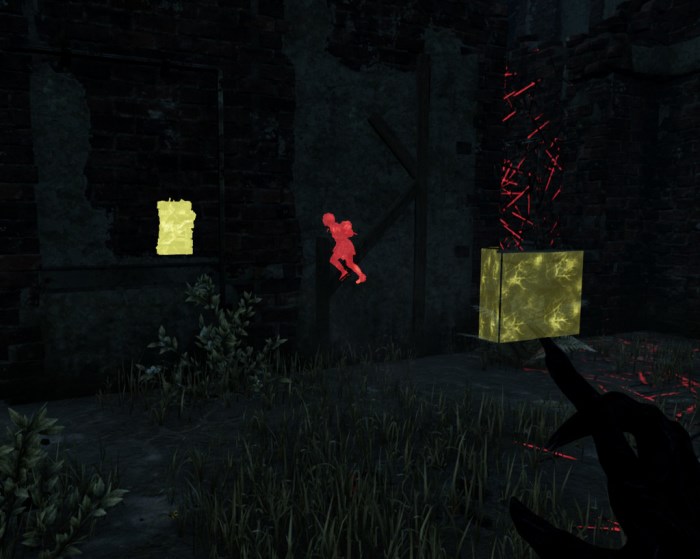
After performing the damage generator action on a generator, Call of Brine activates for 60 seconds. The damaged generator regresses at 115/120/125% the normal regression speed and its aura is highlighted to you in yellow. You will receive a noise notification each time a survivor hits a good skill check on the affected generator.
Call of Brine is a strong regression perk that can drastically slow down the game and allow for more time in chase and less time patrolling generators. At tier 3, the regression speed is permanently increased to 125%.
Why Call of Brine is great:
- If Call of Brine's time elapses and the generator is still regressing, the regression speed will revert back to its default speed of 100%. This means that if it is not repaired again, it will eventually drop back down to 0% progress.
- With the aura of the generator highlighted in yellow, you can keep track of which generators do not have Call of Brine active on it and check on them to see if there’s any progress on them.
- You’ll be notified when the generator you damaged is being worked on again, allowing you to go back and apply the 125% regression again.
Call of Brine is best used on The Knight and The Clown.
The Clown is a killer that can shut down loops with his Afterpiece Tonic, but he still suffers from slow mobility in chases while he is reloading bottles. With Call of Brine, The Clown can damage a generator and continue chasing survivors with the peace of mind that the damaged generator will quickly lose progress and if someone begins to repair it again, he will be notified.
Unlike the Clown, the Knight excels in chases with his summoned guards that can assist him in chasing down survivors. With most of his gameplay focused on chase, he can potentially lose generators if he isn’t focused on slowing their progress. With Call of Brine, he can effectively damage a generator and immediately put pressure back onto the survivors while the generator he damaged regresses at a rapid pace, forcing the survivors working on it to re-do all of their hard work.
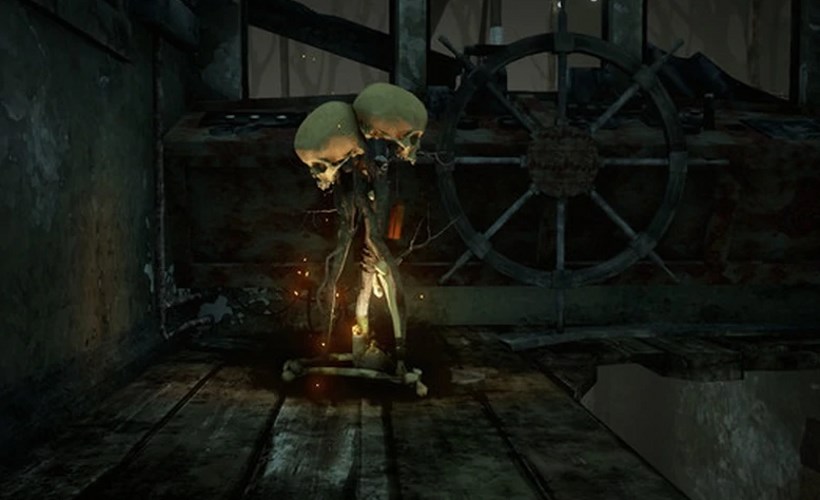
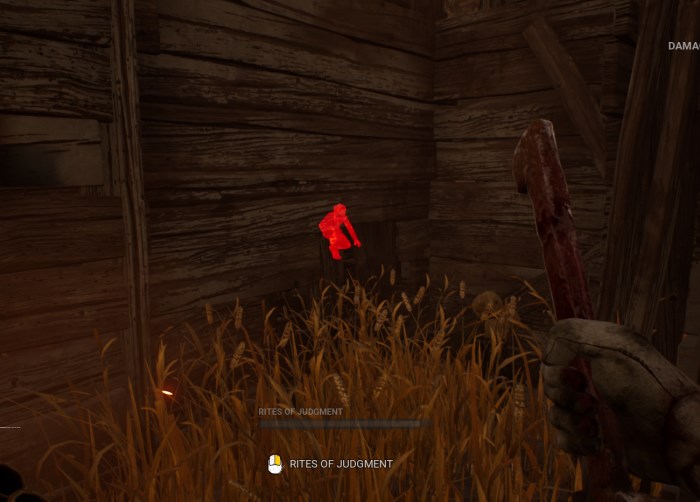
1. Scourge Hook: Pain Resonance
At the start of the Trial, 4 random hooks are changed into Scourge Hooks, the auras of Scourge Hooks are revealed to you in white. Each time a Survivor is hooked on a Scourge Hook, the following effects apply: the generator with the most progression explodes, instantly losing 9/12/15% of its progression. Survivors repairing that Generator will scream, but not reveal their location. You may only activate Scourge Hook: Pain Resonance four times, once per survivor.
Scourge Hook: Pain Resonance is the strongest killer perk in the game because instead of going out of your way to damage a generator, simply playing the game and hooking survivors on Scourge Hooks will do it for you. At tier 3, the instant percentage lost will be 15% and this can absolutely overwhelm survivors.
Why Scourge Hook: Pain Resonance is great:
- With no cool down, you’re able to continuously apply 15% of regression over and over to the most progressed generator if you’re able to hook different survivors in a short period of time. .
- Making the survivors constantly scream will discourage them from working on generators while someone is being carried to a hook.
- With the time saved from not looking for and damaging generators, you’re able to go from chase to chase and keep pressure on survivors.
Scourge Hook: Pain Resonance is best used on Pinhead and Nemesis.
Although The Nemesis is the largest killer, he lacks the pressure needed to back up his monstrous size. Even experienced players struggle in chases when using his tentacle, and stopping to damage generators will only slow him down more. With Scourge Hook: Pain Resonance, Nemesis will be able to continuously hook survivors without the worry of damaging generators and create a snowball effect that will earn him kills.
The Cenobite is one of the stronger killers in the game so it makes sense that using the strongest perk on him will make him unstoppable. With the combined power of his chains summoning and generators losing 15% of progress, the survivors will be greatly hindered while completing their objectives. Making the game last as long as possible will give more opportunity to get into chases and as soon as one survivor is sacrificed, the rest will fall like dominoes.
You May Also Be Interested In:
- Dead by Daylight Survivor Guide: Top 25 Tips
- Dead by Daylight Killers Guide: Top 25 Tips
- [Top 10] DbD Best Killer Builds That Are Great!
- [Top 100] Dead By Daylight Best Names
- [Top 10] DbD Best Killers And Why They're Good
- [Top 15] DbD Best Killer Perks And Why They're Good
- [Top 15] DbD Best Survivor Perks And Why They're Good
- [Top 10] DbD Best Survivors And Why They're Good
