
So you've finally unlocked all of the Starter Decks. Which one do you use?
In Magic the Gathering: Arena, there are 15 decks you get to unlock and play with at the beginning of the game. At the time of this article's writing, each deck is based on each of the Guilds from the plane of Ravnica. But which of these decks is actually useful, and which one is just glued together draft chaff?
In this article, we’re going to look at which of these beginner decks have the highest win rates according to MTGarena.pro and how you can pilot them to victory.
Without further ado, here are the top 5 Beginner decks
5. Cult of Rakdos
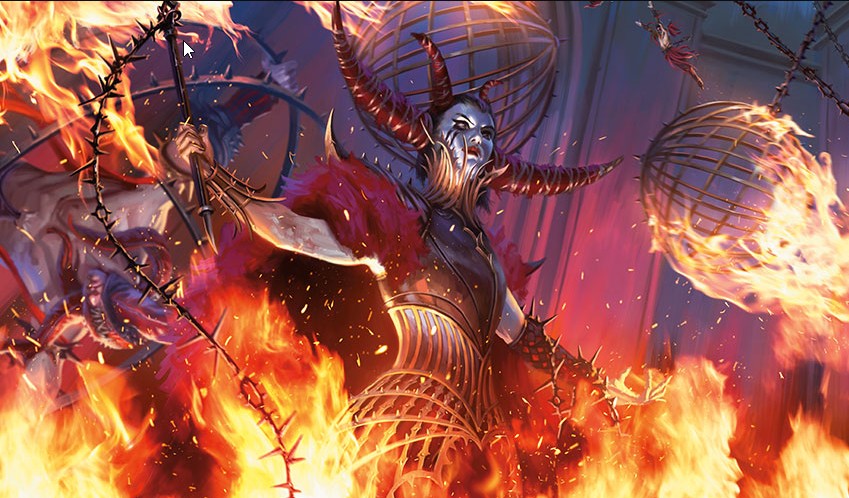
Ain't no party like a Rakdos party, cause at a Rakdos party everyone dies.
The Cult of Rakdos comes in at #5, with a winrate of 46.3%. The deck has a little bit of everything you would need in a decent deck: early plays, some removal, and a solid bomb to finish the game.
What is Great About This Deck
- Plenty of board and hand control options
- Great bomb through Spawn of Mayhem
- Lots of cards that can keep generating value for you, like Light up the Stage and Theater of Horrors
How This Deck is Played
- Turn 1, play any of your one-mana creatures. Each of them performs a slightly different function.
- Spear Spewer is a great way to stop any pesky 1/1s from hitting you in the face and is an easy way to activate Spectacle.
- Footlight Fiend helps dissuade any early 2/2s from attacking you and can also be emergency player damage when you need it to be. Alternatively, if your opponent has any important 1 toughness creatures on the board, Footlight Fiend essentially holds them hostage since, if the Fiend dies, then you can destroy that one toughness creature too.
- Turn 2, ideally, you want to play another creature and keep developing your board. If you’re able to connect with any creatures this turn, don’t be afraid to play a 1 mana creature and then a spectacle card for value.
- Turn 3, push damage again and then play Spawn of Mayhem. Most decks won’t have an answer this early for a 4/4 flying trample threat - the exception is any deck with Black in it since they have some pretty early hard removal.
- As you play this deck, you’re going to realize that you can vomit your hand onto the board again and again. But this projectile hand spewing will also leave you with no answers for your opponent. In these cases, make sure you play Theater of Horrors, Blade Juggler, and Light Up the Stage to give yourself some cards, even if it’s temporary.
- Even though you may run out of cards fairly early, you can use Cult Guildmage and Carnage to drag your opponent’s hand size down with you.
- I recommend you use your removal to get rid of bothersome blockers so your creatures can help you force bad trades on your opponent or just deal more damage. Rakdos Firewheeler, Bedevil, Skewer the Critics, and Get The Point are all great sources of removal for this deck.
- Alternatively, don’t be afraid to direct non-combat damage into your opponent’s life pool. There are a few cards in this deck that can deal damage to “any target.” In these scenarios, you want to look at the board and figure out which path will cripple your opponent the most. You could kill a creature or hurt a planeswalker, but if you can lower your opponent’s life so that the next time you swing it’s for lethal, then you’ll be forcing your opponent to make bad trades to stay alive.
Cards
Creatures (20):
2 Blade Juggler
1 Spawn of Mayhem
2 Spear Spewer
2 Cult Guildmage
3 Hackrobat
1 Judith, the Scourge Diva
2 Rakdos Firewheeler
2 Rakdos Roustabout
3 Footlight Fiend
1 Dreadhorde Butcher
1 Mayhem Devil
Spells (15):
2 Light Up the Stage
3 Skewer the Critics
1 Bedevil
2 Get the Point
1 Theater of Horrors
1 Bedeck // Bedazzle
2 Carnival // Carnage
3 Shock
Lands (25):
1 Blood Crypt
4 Rakdos Guildgate
10 Swamp
10 Mountain
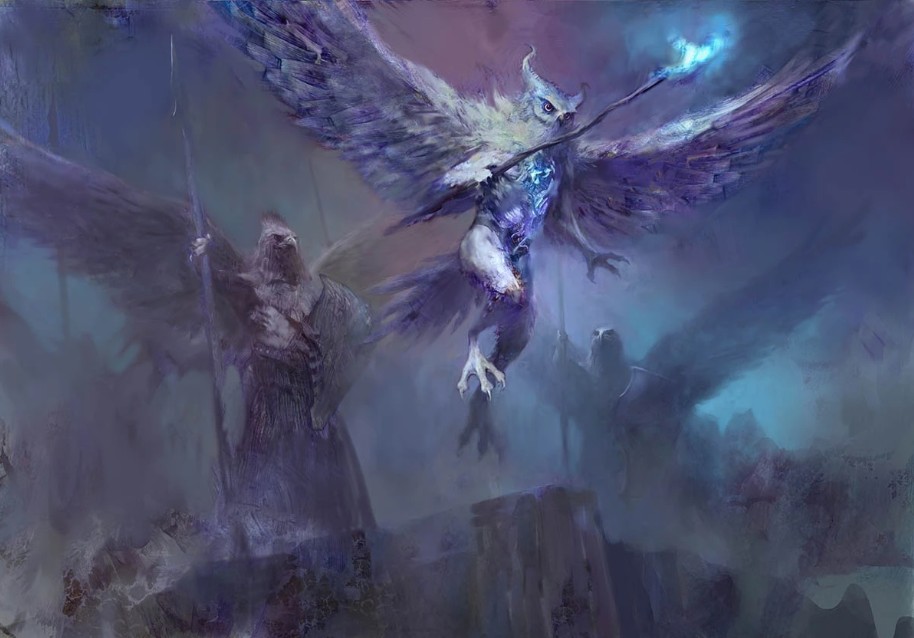
4. Out for Blood

It's a bird! It's a plane! It's this deck's ender of a game!
Out for Blood is next with a winrate of 46.6%. Its strategy is to hunker down behind a deathtouch creature and then build up an insane amount of value through buffing Bloodthirsty Aerialist or Knight of the Ebon Legion. Of the starter decks, this deck also comes with plenty of removal so you can keep stalling your opponent’s plans pretty easily.
What is Great About This Deck
- Has hard removal, so you can delete any threats at any point in the game
- Gravewaker can close out games by itself
- Great defensive play through Vampire of the Diremoon and Dark Remedy
How This Deck is Played
- Turn 1, play Knight of the Ebon Legion or Vampire of the Diremoon.
- Knight of the Ebon Legion’s stats makes him better if you’re playing against a deck that likes to create multiple 1/1s. If you don’t see any obvious plays for Turn 3, then Knight of the Ebon Legion will be better since he becomes a nasty threat when you have 3 mana.
- Vampire of the Dire Moon is better in every other situation since a 1/1 Deathtouch/Lifelink will usually deter most people from attacking you.
- Turn 2, playing Child of the Night sets up for a Turn 3 Bloodthirsty Aerialist. But there’s also nothing wrong with holding mana for a tricky Dark Remedy or Disfigure. I recommend holding Sorin’s Thirst unless you really need to remove a creature - it’ll be better to use that once Aerialist is on the board.
- Turn 3, playing Bloodthirsty Aerialist is the ideal play here. If you think the opponent needs their creatures, then you can play Aerialist and then swing with Vampire of the DIre Moon to buff the Aerialist.
- If you suspect your opponent has removal they’ve been itching to use, then you can play Spinal Centipede instead of Aerialist. If you follow this route, I recommend playing Aerialist on Turn 5 so you can play Sorin’s Thirst immediately afterward.
- Alternatively, if Knight of the Ebon Legion is on the board, you could play nothing and just keep the mana to buff the Knight. After all, a 4 / 5 Deathtouch creature that can grow is a massive threat to your opponent
- Turn 4, either spend this turn controlling the board through Bone Splinters, Murder, Disfigure, or Sorin’s Thirst. Otherwise, you could play Vindictive Vampire so you can gain more life for Aerialist and dissuade your opponent from attacking you.
- Turn 5, will usually be where you play two-card combos. You could play Vindictive then immediately follow with Bone Splinters. More commonly, you can play Aerialist or Knight of the Ebon Legion’s ability, then Sorin’s Thirst. All of these options will help you control your opponent’s side of the board while also building up your own.
- Gravewaker and Vampire Opportunist will be your ways to close out the game.
- Gravewaker is a 5/5 flyer that can also recur any of the creatures you’ve had to sacrifice. This works out great if Spinal Centipede or Meteor Golem is in the graveyard when you hit 7 mana.
- Vampire Opportunist is the slow and grindy way to end the game. If you’ve successfully created a board stall, then Opportunist will be the best way to win the game or force your opponent to do something. Just make sure you use the Opportunist’s ability on your opponent’s end step so you can keep up mana for a Murder, Sorin’s Thirst, or Dark Remedy.
Cards
Creatures (21):
3 Child of Night
3 Spinal Centipede
3 Vindictive Vampire
2 Bloodthirsty Aerialist
1 Knight of the Ebon Legion
4 Vampire of the Dire Moon
1 Meteor Golem
1 Gravewaker
3 Vampire Opportunist
Spells (14):
2 Bone Splinters
2 Disfigure
3 Murder
3 Dark Remedy
4 Sorin's Thirst
Lands (25):
25 Swamp
3. Azure Skies
Warden of the Evos Isle makes this deck smooth sailing
Azure Skies flies into 3rd place with a winrate of 50.3%.
This deck plays similarly to another archetype that usually sticks around in other formats- mono blue tempo. The gameplan here is to slow down your opponent with spells while building value from either card draw or a strong board presence. Then, once you have enough fliers, you can swing with them to end the game.
What Is Great About This Deck
- Almost every creature in the deck has flying
- Strong draw through Winged Words and Cloudkin Seer
- Strong late-game bombs through massed Windstorm Drakes, Riddlemaster Sphinx, and Mass Manipulation
How This Deck is Played
- Turn 1, play Wall of Runes just to deter early aggressive decks from swinging into you.
- A tip with scrying: When you scry, ask yourself when you will need that card. If it’s immediate, then keep it on top. If it’s not going to be for a few turns, then ask yourself how important it is to have that card in your hand the moment that turn comes around. If timing is crucial, then keep it on top. In every other scenario, I would recommend scrying to the bottom
- A tip with scrying: When you scry, ask yourself when you will need that card. If it’s immediate, then keep it on top. If it’s not going to be for a few turns, then ask yourself how important it is to have that card in your hand the moment that turn comes around. If timing is crucial, then keep it on top. In every other scenario, I would recommend scrying to the bottom
- Turn 2, you can be reactive this turn. If you’re up against a ramp deck, you may want to keep the negate open just in case your opponent plays an early Planeswalker (like Oko) or Enchantment (like Cavalcade of Calamity).
- Turn 3, you have a few options to do. Out of them, Cloudkin Seer is one of the better ones since it will draw you a card and develop your board. Plus, losing Cloudkin to removal doesn’t hurt as much as losing Warden of the Evos Isle.
- If you’re up against a ramp deck, Verity Circle is going to be your best friend - it will draw you a card every time your opponents tap a creature for mana.
- Warden of the Evos Isle is the better play if you have a solid plan for Turn 4, like Windstorm Drake or Cloudkin Seer and Winged Words
- Turn 4 onward, things will be a bit more open-ended. If your opponent has any threatening creatures, you can always use Dungeon Geist to permanently tap it down. Ideally, you want to stall your opponent until you have lethal on board with just your fliers.
- If you’re in a desperate situation, you can try drawing into Mass Manipulation and then play it the turn after. This way you can steal the biggest threat on your opponent’s side and use it against them
Cards
Creatures (27):
4 Windstorm Drake
4 Wall of Runes
2 Air Elemental
2 Brineborn Cutthroat
4 Cloudkin Seer
2 Dungeon Geists
2 Spectral Sailor
4 Warden of Evos Isle
1 Meteor Golem
2 Riddlemaster Sphinx
Non-creature Spells (8):
1 Mass Manipulation
1 Verity Circle
1 Negate
1 Unsummon
4 Winged Words
Lands (25):
25 Island
2. Orzhov Syndicate
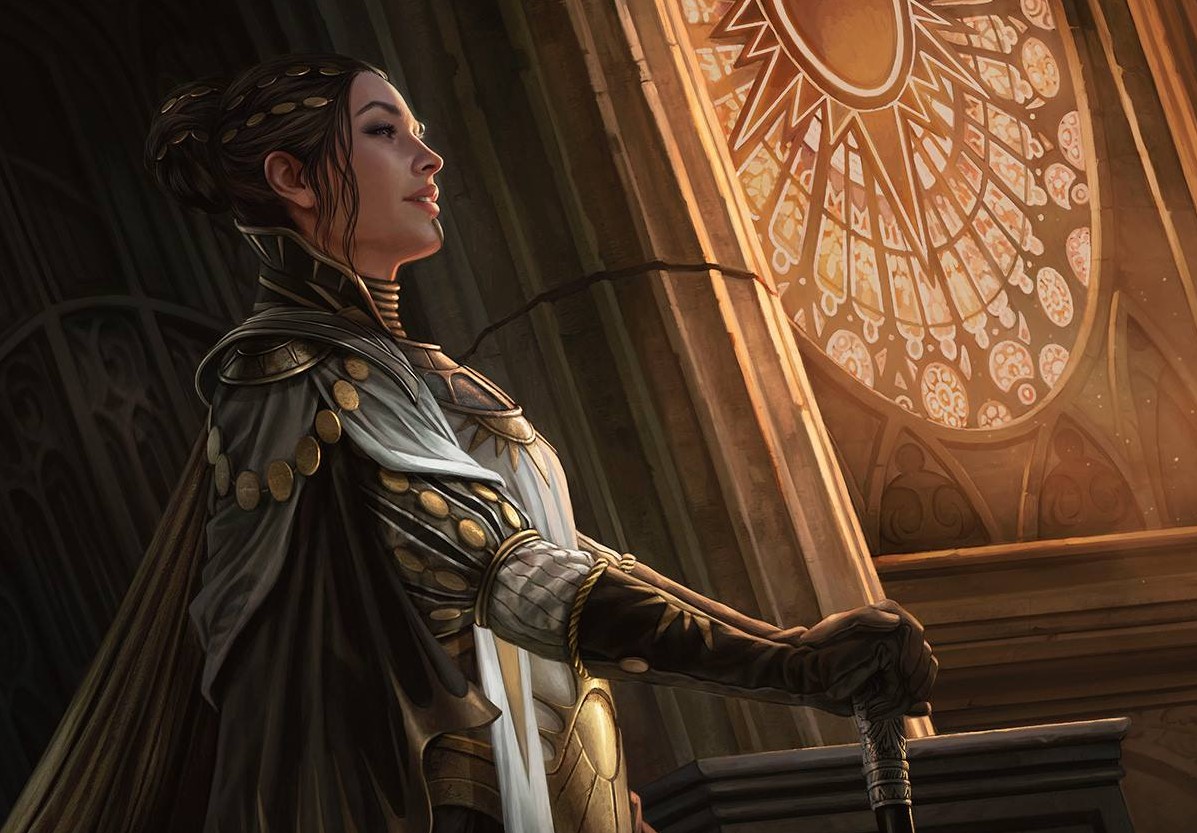
Teysa Karlov overseeing her branch of the IRS.
The Orzhov Syndicate earns their #2 spot with a winrate of 50.59%.
What enables this deck to do so well is a combination of mass fliers, lots of hard removal, and an Aristocrats style of gameplay.
What is great about this deck
- You can gain a lot of life with this deck, which slows down aggro and is a nuisance for control
- This deck has hard removal and a board wipe, so you have plenty of panic buttons to press in case of danger
- Once you have your sacrifice and life loss/gain engines, this deck can grind a win pretty easily
- This deck can make a decent number of 1/1 fliers which can be hard to deal with for some decks
How This Deck is Played
- Your earliest play will be on Turn 2. Any creature will do if you want a board presence, but the best creature to play here is Orzhov Enforcer since a 1 / 2 Deathtouch is a strong deterrent against most of the creatures in the game.
- Cruel Celebrant can also work since she can stop any 1/1s from swinging through and sets up the Aristocrats plan
- Cruel Celebrant can also work since she can stop any 1/1s from swinging through and sets up the Aristocrats plan
- Turn 3, you’re going to want to set up your side of the board more. I recommend playing any creature with Afterlife on this turn, but if you have a strong suspicion that your opponent may have a large Turn 3 play, you can also save your mana to play Mortify.
- Don’t play Plaguecrafter into this situation. Ideally, you want to use Plaguecrafter to sacrifice your own creatures to make fliers, trigger your on-death effects, and get rid of problem creatures from your opponent’s side of the board
- Don’t play Plaguecrafter into this situation. Ideally, you want to use Plaguecrafter to sacrifice your own creatures to make fliers, trigger your on-death effects, and get rid of problem creatures from your opponent’s side of the board
- Turns 4 and 5, you want to continue building up your board. Once you have Vindictive Vampire and Cruel Celebrant, you should start sacrificing creatures to trigger their effects and create 1/1 fliers. This advice goes double if you control Teysa Karlov since she will double all of the death triggers.
- Remember, you can also declare blocks with your creatures and then sacrifice them for more effects. For example, you can declare blocks with MInistrant of Obligation and Imperious Oligarch, then tap Priest of the Forgotten Gods to sacrifice them both. This way you can block damage and get more effects.
- Once you’ve built up enough fliers, play Ethereal Absolution or Revenge to ensure the game swings heavily in your favor.
Cards
Creatures (24):
2 Plaguecrafter
2 Ministrant of Obligation
2 Orzhov Enforcer
1 Priest of Forgotten Gods
1 Vindictive Vampire
2 Basilica Bell-Haunt
2 Grasping Thrull
2 Imperious Oligarch
3 Pitiless Pontiff
1 Seraph of the Scales
1 Teysa Karlov
2 Sunblade Angel
3 Cruel Celebrant
Non-creature Spells (11):
1 Ethereal Absolution
1 Kaya's Wrath
3 Mortify
2 Consecrate // Consume
1 Revival // Revenge
1 Unlikely Aid
2 Despark
Lands (25):
1 Godless Shrine
4 Orzhov Guildgate
10 Plains
10 Swamp
1. Boros Legion
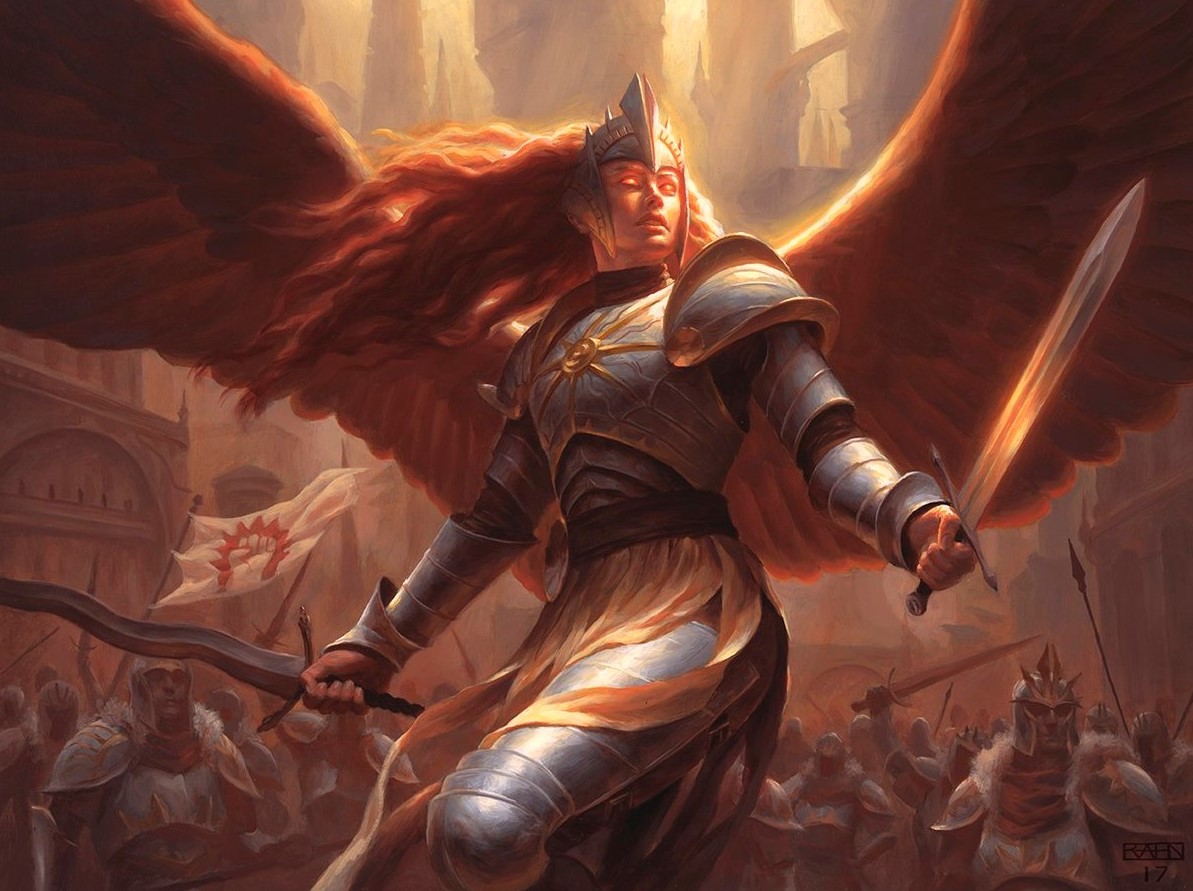
Aurelia, Leader of the Boros, beater extraordinaire and extreme buffer of your creatures.
Now for our top beginner deck - The Boros Legion! It has a winrate of 53.05% through its aggressive gameplan and wide array of combat tricks. If you like fast, cheap creatures with room to grow, then the Boros will welcome you.
What is great about this deck
- Has removal and combat tricks to swing games in their favor
- Low-cost creatures that can grow as the game goes on
- Creatures have flying or first strike, which makes blocking them incredibly difficult
How This Deck is Played
- Turns 1-4, flood the board with creatures. Ideally, you want to follow the curve as best you can. So at 1 mana, you want to play Goblin Banneret or Healer's Hawk. At 2 mana, you want to play Boros Challenger or Sunhome Stalwart, and at 3 mana you want to play a 3 mana creature etc. This way you're using mana as efficiently as possible, but you're also creating the most efficient threat on each turn.
- One of the best strengths of this deck is its abundance of combat tricks, so it's important to guess how your opponent will block.
- For example, if you have a 1/1 and your opponent has a 2/2, you can attack with your 1/1. If they don't block then you get 1 point of damage into your opponent. If they do block then play Sure Strike to remove the opponent’s creature.
- For example, if you have a 1/1 and your opponent has a 2/2, you can attack with your 1/1. If they don't block then you get 1 point of damage into your opponent. If they do block then play Sure Strike to remove the opponent’s creature.
- Remember, you want to do combat first, and then play creatures in your main phase 2. While it’s important for other decks to do this, it’s even more important when you’re playing the Boros Legion. This way you can see what your opponent will do during combat before you commit to playing anything. If your opponent blocks in a way you don’t like, then you still have mana open for an instant. Otherwise, if they don’t block or you’re happy with how the combat phase goes, you can now play a creature on your second main phase.
- Going to combat first can also affect how your opponent will block. For example, opponents may not risk their biggest creature if they know you have an equally large creature on the board. If you go to combat first, they're more inclined to block with creatures because they don't know you have a bigger creature in your hand.
- The exception to this rule should be if you have a haste creature to play. Since they have haste, it's more important that they join the combat phase when you reach it.
- Keep an eye on your creature’s abilities. While you should flood the board with creatures, sometimes it will be more worth it to use your mana to play a creature’s ability instead. This way, you can conserve the cards in your hand, while also building a strong board state. Be aware, that this deck also lacks card draw, so conserving the cards in your hand will be even more important.
- Cards like Boros Challenger and Legion Guildmage have abilities that can affect how your opponents will block and can be used to force bad trades on your opponent without the need for a card to be used.
- Cards like Boros Challenger and Legion Guildmage have abilities that can affect how your opponents will block and can be used to force bad trades on your opponent without the need for a card to be used.
- As a reminder, First Strike damage will always be done first. Once blocks are declared, you can use this to your advantage by dealing damage to your opponent’s creature through First Strike, then dealing direct damage to it with an effect like Shock. That way, when First Strike resolves, their creature gets killed before it gets the chance to kill your creature. This is a great way to take down large creatures you wouldn’t have been able to deal with otherwise.
Cards
Creatures (24):
3 Healer's Hawk
1 Light of the Legion
2 Roc Charger
2 Sunhome Stalwart
3 Goblin Banneret
1 Legion Warboss
1 Aurelia, Exemplar of Justice
3 Boros Challenger
2 Legion Guildmage
2 Skyknight Legionnaire
1 Swiftblade Vindicator
1 Tajic, Legion's Edge
2 Truefire Captain
Spells (11):
2 Lava Coil
2 Sure Strike
2 Justice Strike
2 Integrity // Intervention
1 Response // Resurgence
1 Act of Treason
1 Tectonic Rift
Lands (25):
10 Mountain
10 Plains
4 Boros Guildgate
1 Sacred Foundry
You may also be interested in:


